What We Mean by “Dehydrate”
Here at Easy Food Dehydrating, “dehydrate” always means using an electric food dehydrator — the easy, reliable way to dry food at home.
- Home
- Easy Dehydrated Food Recipes
- Bake Your Own Bread at Home: Easy, Foolproof Recipe
Bake Your Own Bread!
Yes... Really, You CAN with this Foolproof Recipe!

Baking your own bread isn’t just satisfying—it’s cost-saving and surprisingly easy.
With a few pantry staples and simple steps, you can create loaves that taste bakery-fresh, fill your home with irresistible aroma, and cost a fraction of store-bought bread.
✅ Quick Answer: How do you bake your own bread at home?
To bake your own bread, combine flour, yeast, water, sugar, and salt; let the dough rise, shape it into loaves, proof again, then bake until golden. Homemade bread costs about $1 per loaf, tastes fresh, and requires no fancy equipment.
Even if you’ve tried before and ended up with brick-like loaves (I did as a kid!), this foolproof method will show you just how simple - and fun - breadmaking can be.
See Fleischmann's Recipe here.
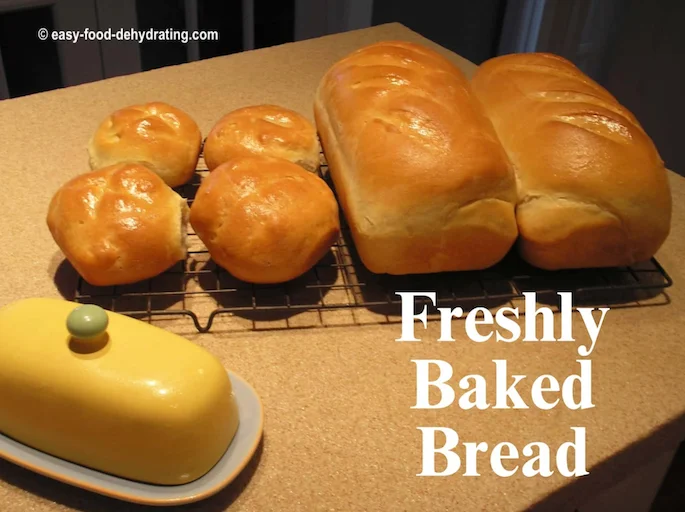
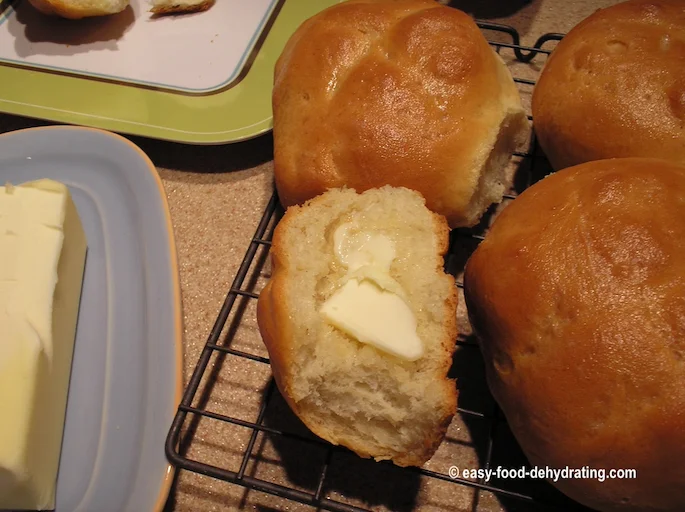
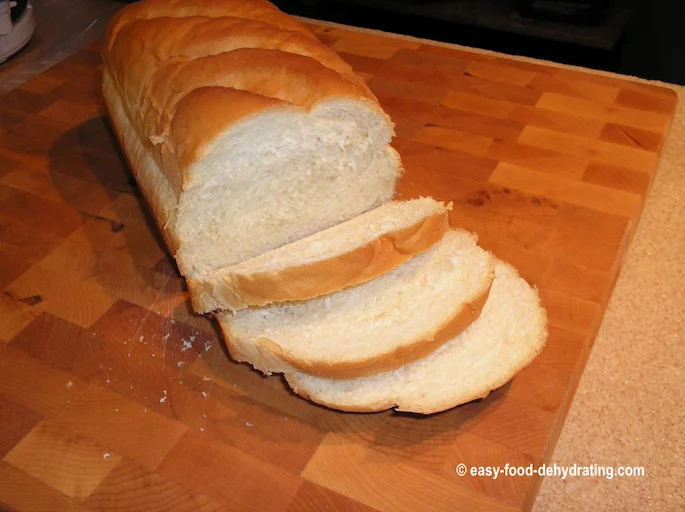
Just look how lovely my loaves turned out, and I made some buns at the same time, using this simple recipe, courtesy of Fleischmann (scroll down a bit for the recipe).
Why Bake Bread at Home? The Surprising Savings Revealed
If you've never done it, now is the time to bake your own bread and save money—you don't have to rely on the grocery stores' high-priced breads.
Mom and I figured it cost me around $1 per loaf, and about 10 cents each per bun! WOW!
My husband did some research and came across this fantastic bread recipe over at Fleischmann's Yeast. Check out the recipe link, in the red box below.
Use this Fleischmann's Yeast
Homemade No-Knead White Bread
RECIPE
Go get the recipe, make the bread, then come back here!
A Foolproof Bread Recipe Anyone Can Master
It is quite easy to bake bread, by the way. Simply use the Fleischmann's recipe in the pink box shown above.
I could have made it much easier on myself if I had not been doing two loads of laundry and making up my husband's lunch bag at the same time, though!
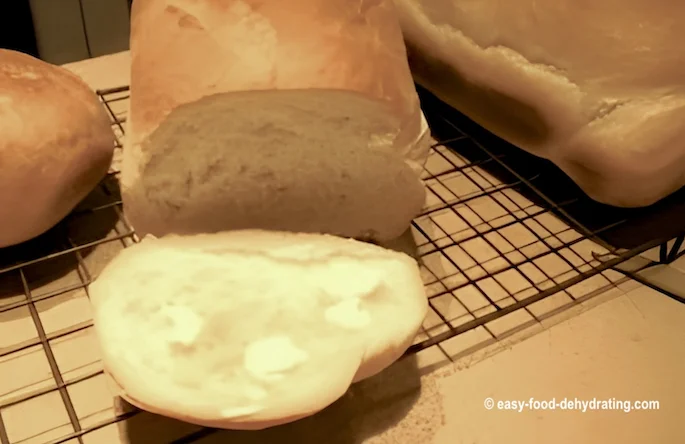
My mom and I could not wait for the bread to cool down completely. Excitedly, we grabbed the bread knife and cut the first slice... or two, and then three!
Eating bread still warm from the oven and spread with fresh butter really can't be beat. It's truly the simple pleasures in life that sustain and fulfill us.

How to Make Bread That Looks Like It Came from a Bakery
Both mom and I were extremely impressed with the bread recipe and our overall efforts!
It looked like professional bakers had made it! ;-)
By the way, I split the bread dough into three parts, two equally sized dough balls for the loaves, and the third dough ball (a bit smaller) was enough to make four medium-sized buns, as shown in the photo and mentioned at the top of the page.
Score the bread tops after the first proofing when the loaves are shaped and in the tins. Put about four or five slits on a 45-degree angle on the loaf tops, and I did a cross on the buns!
The photo above shows how the slits in the bread opened up while in the second proofing (before they went into the oven for baking). Honestly? I wasn't sure if that was the right thing to do or the right time to do it, but I got lucky and it worked out beautifully!
My bread was in the oven for exactly 25 minutes at 400°F (use our Fahrenheit to Celsius converter here on our site!) and I took one loaf out, shook it loose, turned it out, and tapped it on the bottom. My bread-baking buddy in the UK says the bread, when tapped, needs to sound hollow. It did sound hollow, so out of the oven they all came!
The Secret to Soft, Golden, Bakery-Style Loaves
Mom had the brilliant idea of brushing melted butter on the tops of the loaves as soon as they came out of the oven.
That simple brushing of butter completely transformed the bread's coloring! It also made the bread crust soft, which is handy to know for those of you who may not like a hard bread crust.
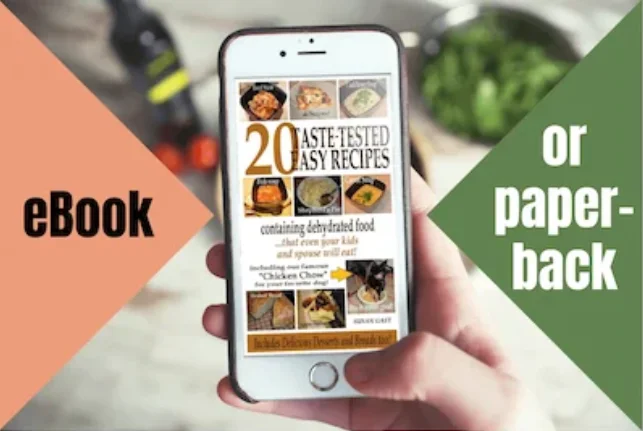
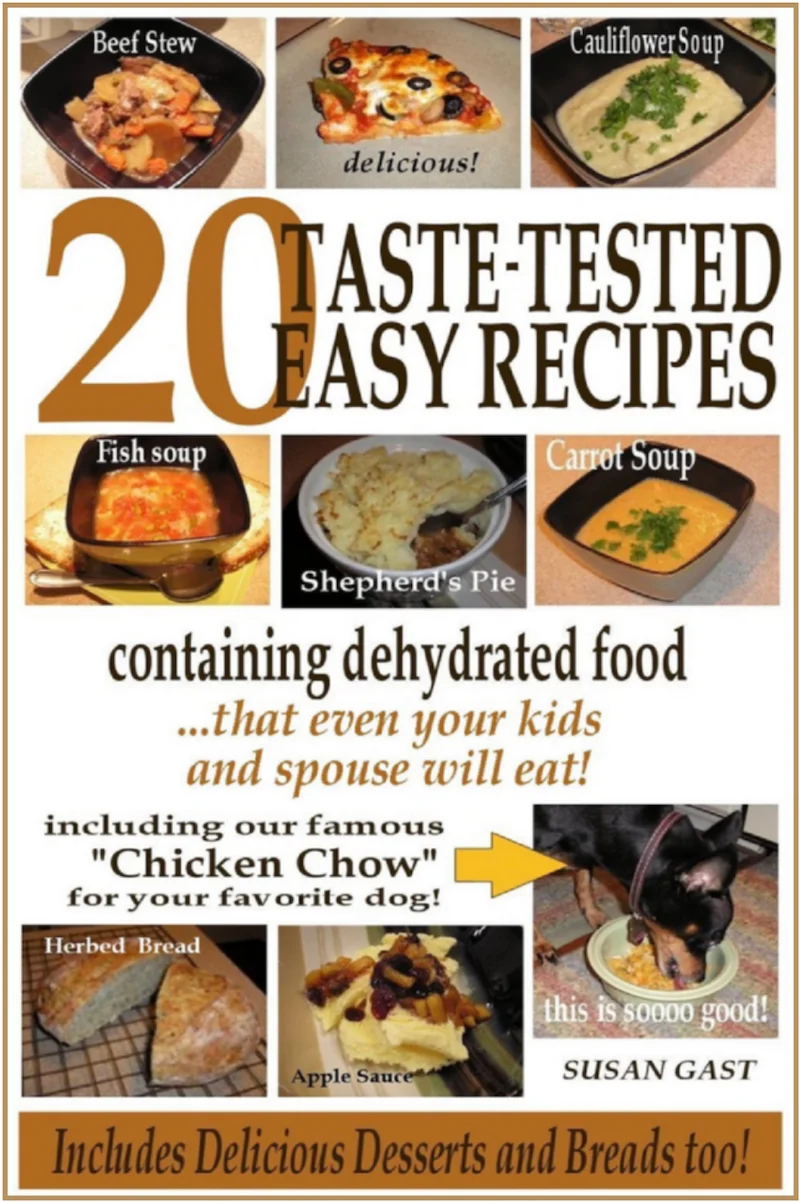
20 Taste-Tested Easy Recipes
🍕 Pizza! 🥧 Shepherd's Pie! 🥘 Beef Stew! plus
Cauliflower Soup and Cauliflower Mash, along with crazy Carrot Soup!
Decadent Desserts: Carrot Cake and Cranberry Pineapple Pie!
and more...
Fresh food ingredient amounts are included for when you have fresh food on hand.
See which recipes are included here.
Why Proofing Temperature Is the Hidden Key to Perfect Bread
For testing the temperature of the water for the yeast AND for proofing the bread, I used my trusty digital prong Acu-Rite meat thermometer that I use for sticking in the breast meat of the Thanksgiving and Christmas turkeys... and it worked great!
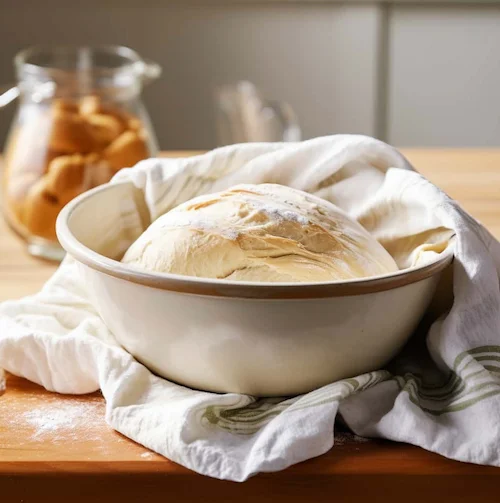
PROOFING: I set the oven to its lowest setting which was 150°F and cranked the door open to let in cooler air, and closed it when it dropped to 85°F. That's the temperature I used to proof the bread at.
I covered the bread with an old clean (slightly dampened) dish towel draped on top of the bread tins. I realized that at 85°F, the towel would not set on fire so I felt safe using the oven!
I was able to close the oven door for both bread proofings so there were no drafts, and the temperature stayed at 85°F—just right!
UPDATE: I have baked this bread several times since, and each time yields impressive bread! BUT—and there's always a BUT!—it never hangs around the house long enough to savor for more than a day or two! :-) ... but what a fantastic way to save money!
Curious About Homemade Bread? Here Are the Answers
Can I freeze homemade bread after baking?
Can I freeze homemade bread after baking?
Yes! Once fully cooled, wrap loaves in foil or freezer bags. Frozen bread keeps its flavor and texture beautifully for up to 3 months.
What flour works best for this recipe?
What flour works best for this recipe?
All-purpose flour works perfectly. You don’t need special bread flour unless you want extra chewiness.
How long does homemade bread stay fresh?
How long does homemade bread stay fresh?
At room temperature in a sealed container, it stays fresh 2–3 days. For longer storage, freeze it.
Do I need a bread machine?
Do I need a bread machine?
Not at all. This recipe is designed for hand baking and works with just bowls, pans, and your oven.
How do I know when my bread is done baking?
How do I know when my bread is done baking?
Tap the bottom of the loaf—if it sounds hollow, it’s ready. A digital thermometer should also read about 190–200°F inside.
Baking your own bread is one of those simple pleasures that brings big rewards—fresh flavor, lower costs, and a sense of accomplishment.
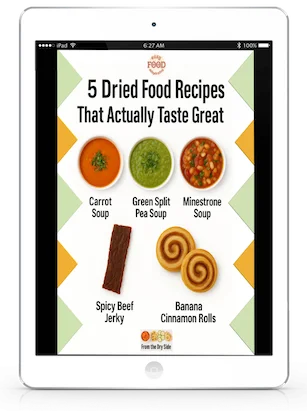
And when you’re ready to expand beyond bread, I’ve got something special for you: grab the free 5 Dried Food Recipes You’ll Actually Love PDF below. Inside, you’ll find my favorite easy meals like carrot soup, split pea soup, spicy beef jerky, banana cinnamon rolls, and more. A delicious way to keep the homemade goodness going!
Get 5 Dried Food Recipes You'll Actually Love
Here's where you can get your copy of our all new
5 Dried Food Recipes (That Actually Taste Great)
They're my all-time favorite easy dried food meals!
Get it here right now.
For Free!
Before You Go...
If you enjoyed this page, tap the ❤️ in the lower right-hand corner.
It saves this page to your Grow bookmarks so you can find it again later.
You’ll also see quick share buttons to copy the link, post to Facebook,
or save it straight to Pinterest.
