What We Mean by “Dehydrate”
Here at Easy Food Dehydrating, “dehydrate” always means using an electric food dehydrator — the easy, reliable way to dry food at home.
- Home
- Articles On How To Dehydrate Food Safely
- Dehydrating Food at Home
Dehydrating Food at Home:
The Smart Way to Reduce Waste

Why Dehydrating Food at Home Changes Everything
Tired of tossing out spoiled fruits and mushy vegetables? You’re not alone.
✅ Quick Answer: How do you start dehydrating food at home?
To dehydrate food at home, slice your produce thinly, dry it using a dehydrator or oven at 125°F–135°F, and store it in airtight containers with oxygen absorbers. This removes moisture to prevent spoilage and extends shelf life for months or even years.
Dehydrating food at home is one of the simplest, most effective ways to reduce waste, save money, and build a shelf-stable pantry.

Whether you're preserving fresh produce, making homemade snacks, or prepping for emergencies, this guide walks you through exactly how to dehydrate food safely and successfully—right in your own kitchen.
This time-tested technique not only locks in flavor but also keeps your pantry stocked with healthy, ready-to-use ingredients. Let’s dive into the why and how of food dehydration!
Common Food Waste Frustrations (and Solutions)
You reach into your fridge, only to find mushy strawberries, wilted spinach, and potatoes sprouting like a science experiment. Sound familiar?
Before you toss another spoiled item in the trash, know this: dehydrating food at home is the best solution to your fresh food waste. It extends their shelf life, and turns perishable foods into convenient, long-lasting ingredients for soups, stews, etc.
How Our Ancestors Nailed Food Preservation

Dehydrating food at home not only offers satisfying food preservation but also symbolizes a nostalgic charm that sparks those pioneer woman feelings!
Long before refrigerators existed, our ancestors mastered the art of drying food. They relied on the sun, air, and fire to keep food from spoiling.
Fast forward to today, and modern dehydrators make the process so easy. No preservatives. No artificial additives. Just pure, naturally preserved food.
Dehydrating food at home brings that same pioneer spirit into your kitchen—minus the campfire.
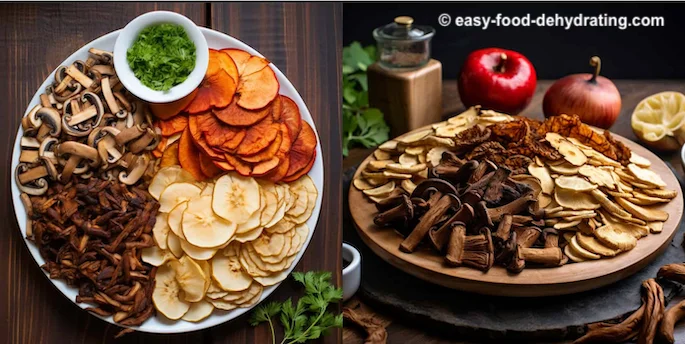
Top Reasons to Start Dehydrating Food Today
Though dehydrating foods at home might test your patience, making that first batch of tangy apple chips or savory mushroom slices is well worth it.
From beef jerky to a sweet and chewy fruit leather, dehydrating food halts food wastage.
The energy consumption concerns you might have regarding running a dehydrator for hours at a time, is offset by the savings in food cost ((less waste).
Plus think about all the extra space gained in your refrigerator and freezer so you can organize those appliances better!
Heck why not sell the spare refrigerator that is in the garage?
How to Get Started (It’s Far Easier Than You Think!)
The first step in making delicious dried food safely is to understand what the process entails. Good news—it's simple - yes, as in my free "Six Simple Steps."
The act of drying food slowly removes the water from it, helping prevent future microorganisms from spoiling it.
My free email course teaches you the six steps, which includes adding oxygen absorbers (what size to get), and the best storage methods for long-term storage.
Remember: It's a balance of time,
temperature, and air circulation. It's not just an efficient way of
prolonging the life of your food—it's also scientifically fascinating. It's amazing to see celery shrink down. Read my tips on dehydrating celery here and watch the time-lapse video below!
See It Work: Watch Dehydrated Food in Real Time

Oven or Dehydrator? Best Tools for Home Drying
You don’t need fancy equipment to start—your oven can do the job. Just spread food on a baking sheet, set it to the lowest temperature, and prop the oven door open for airflow.
But here’s the catch: Oven drying is slow, uneven, and can heat up your house.
💡 The better option? A food dehydrator. It’s designed for even drying, uses less energy, and it's convenient.
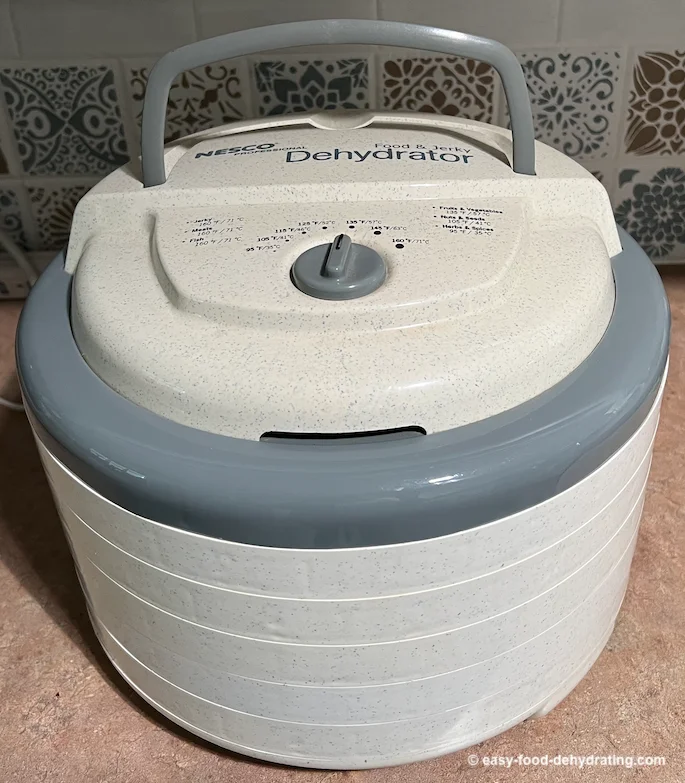
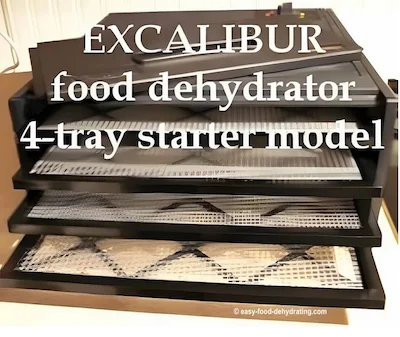
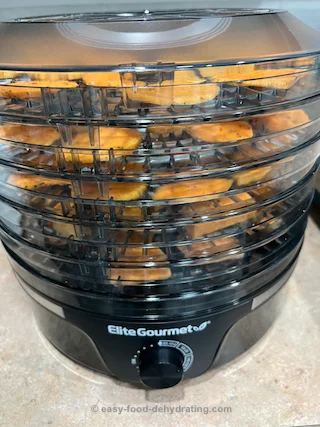
Popular models like Nesco and Excalibur and more recently - the Elite Gourmet (shown below) are beginner-friendly models and are built to last. I've been using my Nesco and Excalibur since 2010!
Put Dehydrating Food at Home "On Auto"
Starter models are surprisingly affordable and last for years.
Check out this page about Nesco and Excalibur dehydrator models (an overiew).
To learn more individual deets about Nesco Dehydrators click here, or for Excalibur Dehydrators click here... and for the Elite Gourmet click here!
Safety First: How to Prevent Spoilage & Bacteria
When it comes to dehydrating food, safety is super important! Make sure the foods are adequately dried and stored properly to avoid bacterial growth. The food needs to be 95% dehydrated for safe long-term storage. It's the removal of water that makes it all work.
Storing dehydrated
foods in airtight containers in a dark space takes care of the "three
biggest enemies"... namely:
🚫 AIR
🚫 LIGHT
🚫 MOISTURE
Tip: Every fruit and vegetable has an ideal drying time. In my guides on how to dehydrate fruit and vegetables, you'll see the average length of drying time it takes to fully dehydrate them - and what the expected texture outcome is.
Yes—You Can Dehydrate Meat Safely at Home

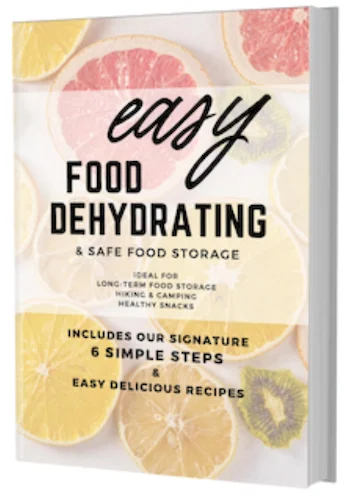
I also cover meats such as chicken, turkey, and beef, inside Easy Food Dehydrating & Safe Food Storage book (eBook, or Paperback).
And you can learn about pork and seafood directly on our site (click those links to read about those items as they were added to this site after the book was released).
Store It Right: Long-Term Tips for Dehydrated Food
To aid in storing your dehydrating goodies, use Oxygen Absorbers. These little oxygen packets absorb oxygen, as their name implies. I also add a desiccant packet to absorb moisture.
REMINDER: We add an oxygen absorber and a desiccant packet inside our vacuum sealer bag BEFORE vacuuming out the air. Learn all you need to know about the different sizes of oxygen absorbers here and desiccant packets here.
Creative Ways to Use Your Dehydrated Goodies
Once your food is dried, the possibilities are endless:
🍲 Throw dehydrated veggies into soups & stews. Check recipes here!
🍓 Blend dried fruits into smoothies or yogurt.
🥩 Snack on homemade jerky for a protein boost.
🥣 Rehydrate for quick, easy meals without extra shopping.
And the best part? Less waste. More flavor. More convenience.
Questions About Dehydrating Food? Let’s Clear Them Up
Can I dehydrate food without a dehydrator?
Can I dehydrate food without a dehydrator?
Yes. You can use an oven set to its lowest temperature and prop the door open slightly for airflow. However, a food dehydrator offers more consistent results, uses less energy, and is designed for the job.
How long does it take to dehydrate food at home?
How long does it take to dehydrate food at home?
It depends on the food and method. Thin fruit slices may take 6–12 hours, while meats can take 8–15 hours. Always check for texture and dryness, not just time.
What foods should not be dehydrated?
What foods should not be dehydrated?
Foods with high fat content like avocados and butter do not dehydrate well and may spoil. Also avoid soft cheeses and raw eggs due to safety concerns.
How do I know if my food is dry enough?
How do I know if my food is dry enough?
Properly dried foods should feel leathery or brittle with no visible moisture. Test by breaking a piece—there should be no beads of water, and it should crack, not bend.
Dehydrating food at home is more than just a smart storage method—it’s empowering, economical, and satisfying. From homemade banana cinnamon rolls to hearty soups with split peas, carrots, and even spicy beef jerky, the meals you can create with dried ingredients are downright delicious.
Before you go, don’t forget to grab your free 5 Dried Food Recipes You'll Actually Love PDF (below) featuring carrot soup, minestrone soup, split pea soup, spicy beef jerky, and banana cinnamon rolls!
Get 5 Dried Food Recipes You'll Actually Love
Here's where you can get your copy of our all new
5 Dried Food Recipes (That Actually Taste Great)
They're my all-time favorite easy dried food meals!
Get it here right now.
For Free!
Before You Go...
If you enjoyed this page, tap the ❤️ in the lower right-hand corner.
It saves this page to your Grow bookmarks so you can find it again later.
You’ll also see quick share buttons to copy the link, post to Facebook,
or save it straight to Pinterest.

