What We Mean by “Dehydrate”
Here at Easy Food Dehydrating, “dehydrate” always means using an electric food dehydrator — the easy, reliable way to dry food at home.
- Home
- How to Store Dehydrated Food for Long-Term Freshness
- Plastic-Lidded Bins for Long-Term Food Storage Solutions

Plastic-Lidded Bins for Long-Term Food Storage

Plastic-lidded bins are one of the simplest and most affordable ways to protect your dehydrated food supply. Whether you’re storing Mylar bags, jars, or vacuum-sealed packs, these bins keep everything neat, block out light, and stack easily in a closet or pantry.
✅ Quick Answer: What are plastic-lidded bins used for in food storage?
Plastic-lidded bins keep dehydrated food safe, organized, and protected from light. Choose opaque, stackable, airtight bins for best results, and pair them with oxygen absorbers and desiccant packets to maximize long-term food freshness.
With the right type of bin - ideally opaque, stackable, and airtight - you can extend shelf life while keeping your food storage system organized and stress-free.

Why Opaque, Stackable Bins Are the Secret to Food Storage Success
It's better if you can find stackable bins that you can't see through, as it helps to keep the light out. All you have to do is clear off some shelving in the garage.
Yeah, I know I said, "All you have to do," and yes, it's hard work sorting out stuff. But when it's done? It's done. You'll be so proud of yourself!
It's a great way to keep similar items grouped in an organized fashion. There's nothing worse than having to go rooting through piles of stuff, hoping the hunt will pay off. Keep yourself organized!
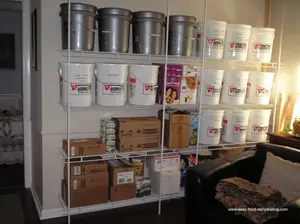
PLEASE NOTE: The white bin shown at the top of the page is NOT airtight, i.e. air can get in around the handles - so it's pointless adding a 2000cc oxygen absorber or desiccant packets in these types of bins. They must be AIRTIGHT when using the big oxygen absorbers and desiccant packets.
Again, the aim of these types of bins with handles is to keep you organized.
Smart Shelving Hacks to Fit Bins and Buckets Perfectly

If you're using buckets and plastic-lidded bins, here's a neat way to store 'em!
Stack boxes in an unused or barely used closet in the house - I prefer interior closets or a shelving unit assembled on a "spare" wall - READ ALL ABOUT IT HERE! Garages tend to get too hot and too cold. And bugs are out there...
Remember to write the contents of the bin on the bin's side and you should have already written the date on the bags and their contents well before they go in the bins!
Oxygen Absorbers vs. Desiccants: When to Use Them in Bins
NOTE: When using large AIRTIGHT containers, I add a 2000cc large oxygen absorber and a 200-300g desiccant packet loose inside the bin amongst the bags.
Don't forget we have also included a 100cc oxygen absorber and a 5g desiccant packet inside the vacuum-sealed dried food packages.
Remember, these large bins will not be
opened regularly, maybe two or three times a year or so, as we use up and
rotate our stock.
There are plastic-lidded bins available that have snap-on lids that are truly airtight - like bucket lids - so please remember to use the 2000cc oxygen absorbers and 200-300g desiccant packets inside these types of storage bins.
Oxygen Absorbers at Amazon
When to Use 50cc Oxygen Absorbers
50cc are perfect for small jars and containers. Ideal for keeping spices and smaller dried foods fresh.
Best Uses for 100cc Oxygen Absorbers
100cc are great for quart-sized jars and vacuum-sealer bags. The most versatile size for everyday use.
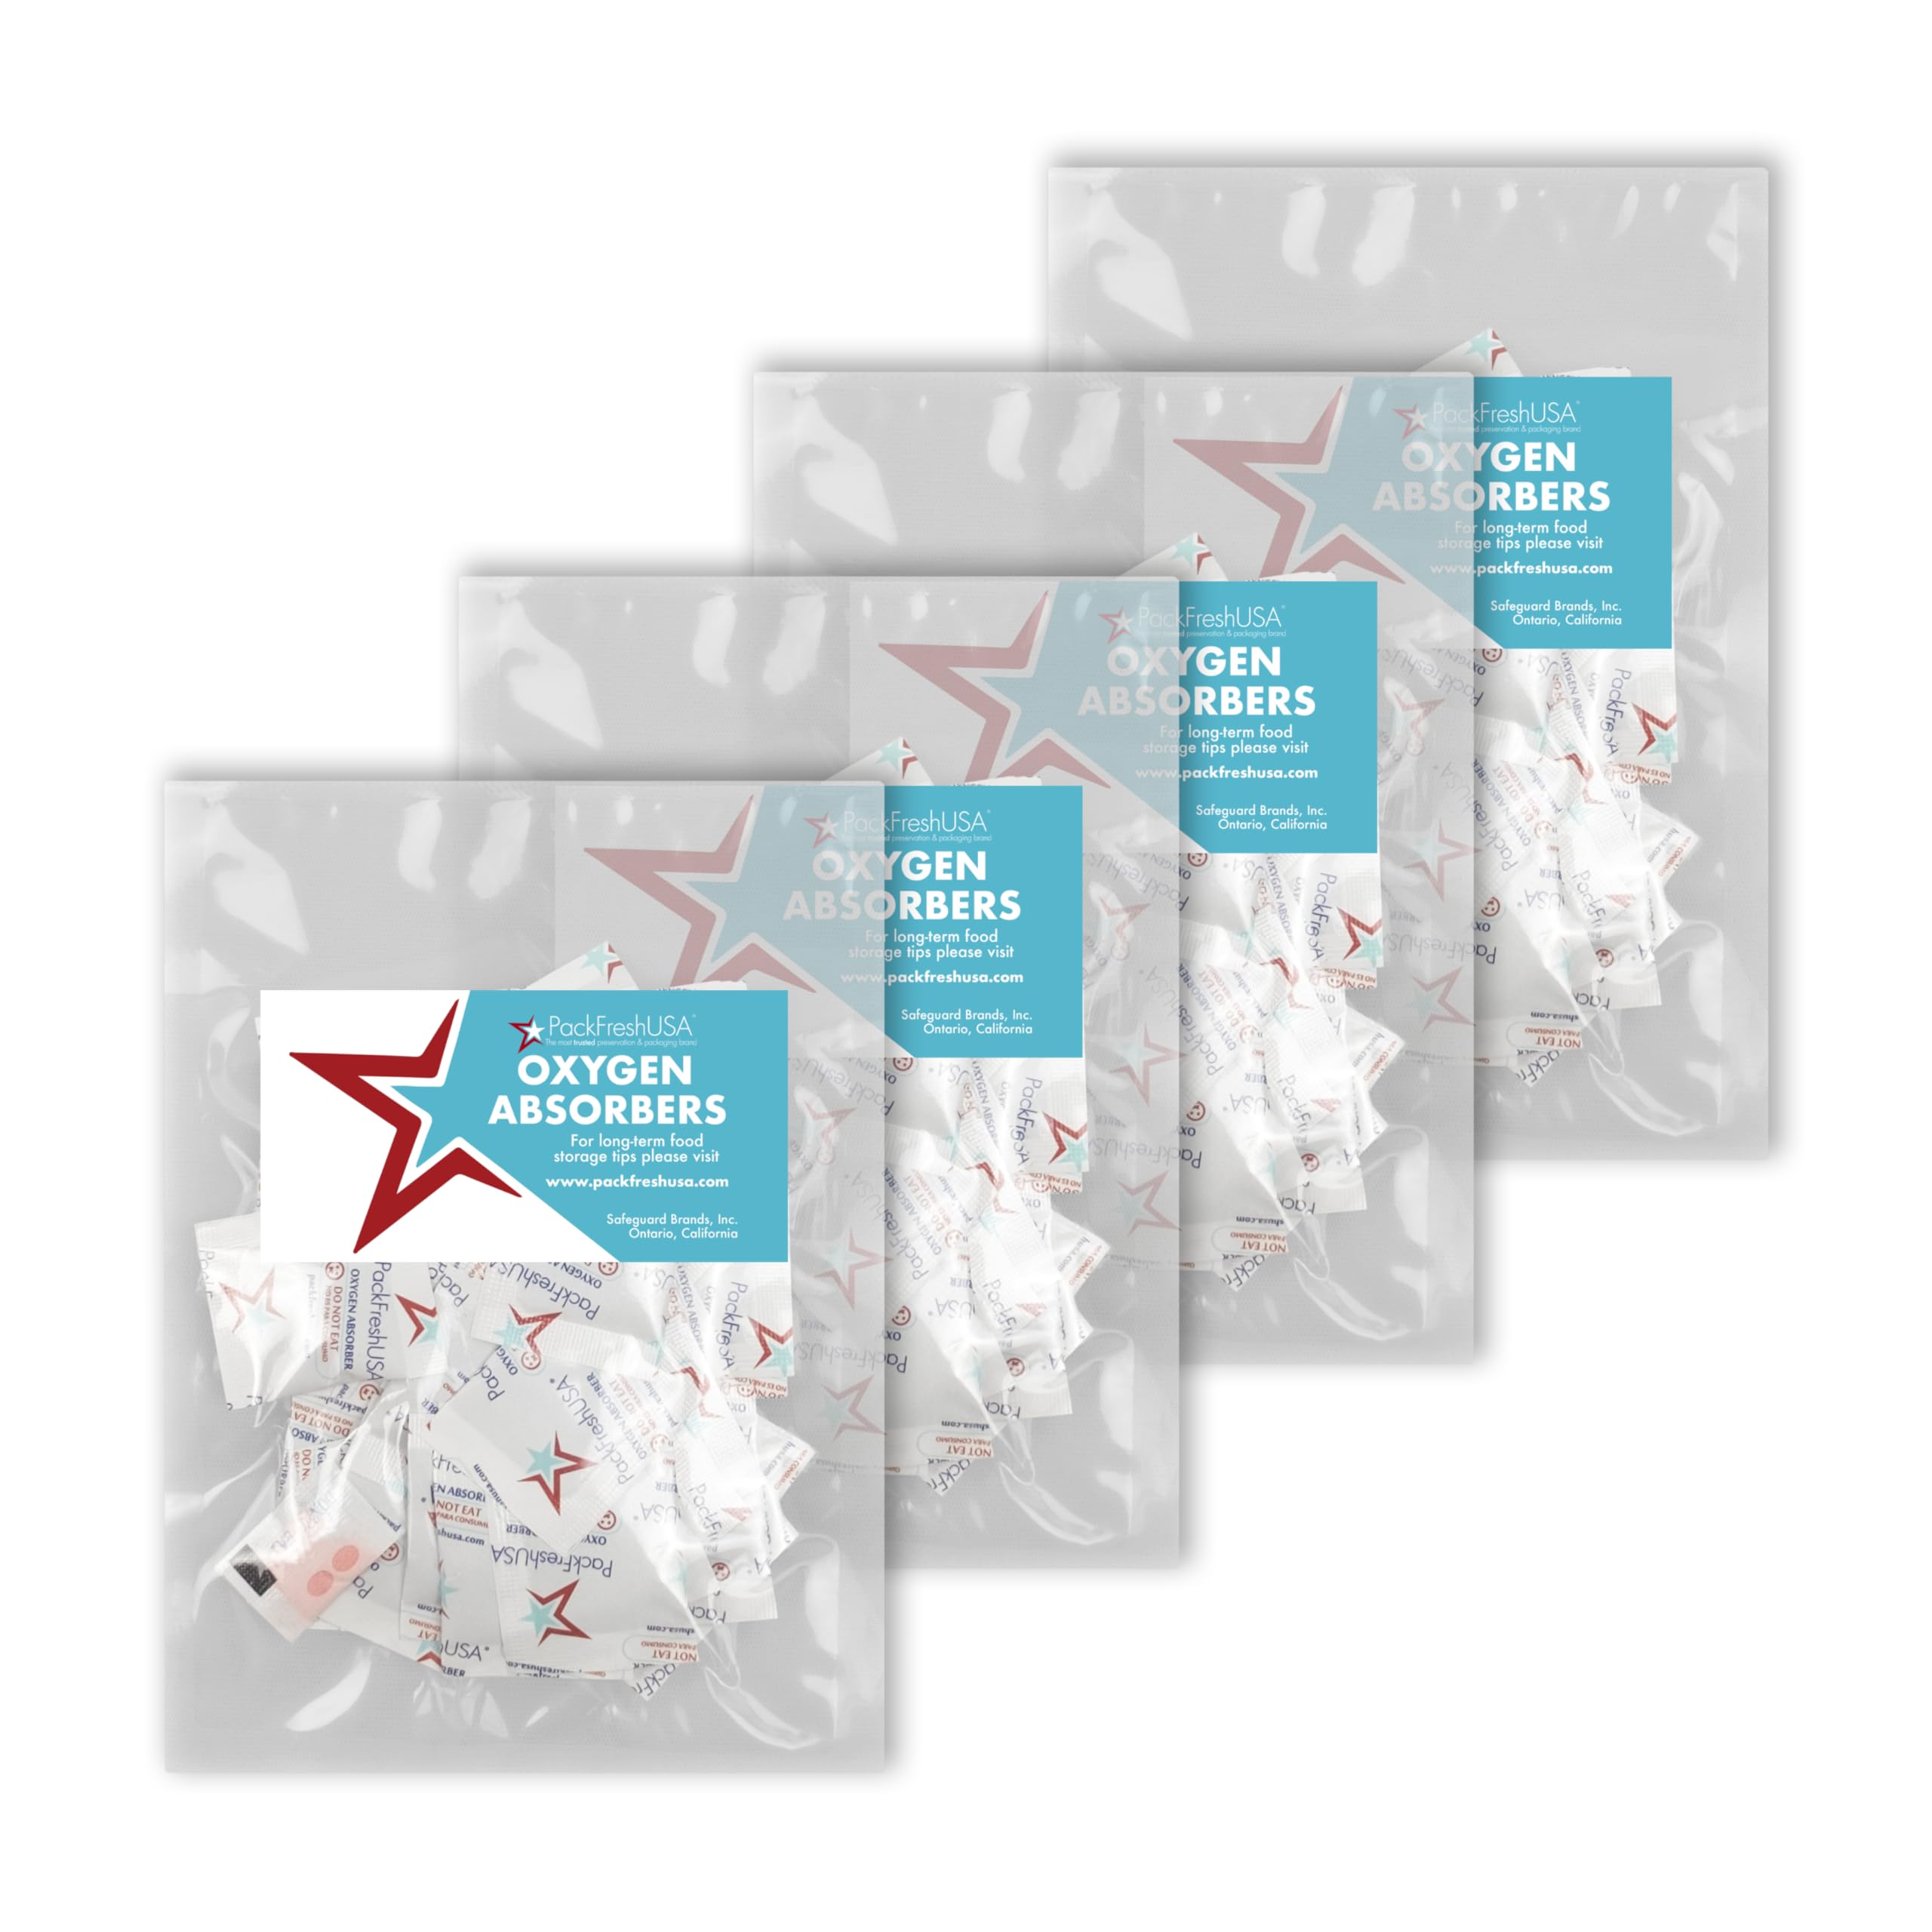
- PackFreshUSA Oxygen Absorbers
- 200-Pack
- Food-Grade, Non-Toxic

- Oxy-Sorb Oxygen Absorbers
- 100-Pack
- Long-Term Food Storage Freshness Protection

- Oxy-Sorb Oxygen Absorbers
- Bags of 20 (60 Count total)
- Super Effective for Dried Goods

- Oxy-Sorb Oxygen Absorbers
- Pack of 10
- I use these for airtight bins and buckets
As an Amazon Associate, I earn from qualifying purchases — this does not affect the price you pay. Read full disclosure.
A NOTE HERE about DESICCANT PACKETS
Use them in conjunction with Oxygen Absorbers.
Here's How and Why...
Shelf Height Mistakes to Avoid Before Adding Storage Bins
When I built my food storage wall, I made sure that there was enough room between the shelves (height-wise) to fit the bins.
Take into account that some closet SHELVES have their front edges bent downwards at a 90-degree angle... Make sure the bin can get in... and out under that bent 'lip.'
Hey, you don't want to build the thing twice, right? So measure TWICE, and DRILL once. Make sure you're using a drill bit that's suitable for drilling metal, too. Drill bits for wood drilling won't do the job.
Give yourself a little bit of "breathing room" on top of the box, say about an inch and a half max.
The Hidden Advantage of Deep Shelving Units for Bins
Consider buying deep(er) shelving units so you can store your bins with the narrow side facing out, rather than the wide side facing out, like I did. You'll be able to store more bins that way.
You're always wiser after the event!
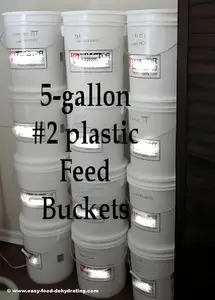
Best of Both Worlds: Using Buckets and Bins Together
Remember: You can also use buckets instead of bins! Yes, feed buckets - check out the Feed Bucket page. You'll see great screw-on lids that just about guarantee to keep your flour bug-free and your dehydrated food dry!
You can also stack the buckets. Put the heavy buckets on the bottom of the stack so you don't get a nasty knock to the head if one should tumble on you! (Yep, I messed up the first time around!) Be safety-conscious at all times.
Step-by-Step Food Storage Chart: My Exact Storage Method
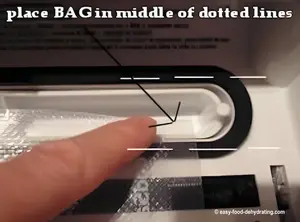
The chart shows the exact order I use: bag → absorber → desiccant → wrap → Mylar → seal.
| Layer | Container | What Goes Inside | O₂ Absorber | Desiccant | Seal Method | Notes |
|---|---|---|---|---|---|---|
| Primary | Vacuum-sealer bag | Dry food | 100cc | 5g | Vacuum seal | Wrap in cling film (abrasion guard) |
| Secondary | Mylar bag | 3–4 primary packs | 300cc | 20g | Heat-seal (no vacuum) | Barrier + light block; label contents & date. Text will now wrap properly instead of stretching wide. |
| Storage | Pantry/Shelf | Finished Mylar bundles | — | — | — | Cool, dark, dry; rotate oldest first |
Primary
Container: Vacuum-sealer bag
What Goes Inside: Dry food
O₂ Absorber: 100cc
Desiccant: 5g
Seal Method: Vacuum seal
Notes: Wrap in cling film (abrasion guard)
Secondary
Container: Mylar bag
What Goes Inside: 3–4 primary packs
O₂ Absorber: 300cc
Desiccant: 20g
Seal Method: Heat-seal (no vacuum)
Notes: Barrier + light block; label contents & date
Storage
Container: Pantry/Shelf
What Goes Inside: Finished Mylar bundles
Notes: Cool, dark, dry; rotate oldest first
Plastic Bin Food Storage: Your Top Questions Answered
Are all plastic-lidded bins safe for food storage?
Are all plastic-lidded bins safe for food storage?
Not all bins are airtight or opaque. Look for bins specifically labeled airtight with strong snap-on or screw-top lids. Opaque bins also help block damaging light.
Can I store dehydrated food directly in plastic bins?
Can I store dehydrated food directly in plastic bins?
No. Always store dehydrated food first in vacuum-sealed bags and then in Mylar bags before placing inside bins. Bins are for organization and extra protection, not for direct contact with food.
Do I always need oxygen absorbers in plastic bins?
Do I always need oxygen absorbers in plastic bins?
Only if the bin is airtight. Otherwise, oxygen will seep in, making absorbers ineffective. Use absorbers inside Mylar bags and add larger packets in airtight bins for long-term storage.
What’s the best place to keep my plastic-lidded bins?
What’s the best place to keep my plastic-lidded bins?
A cool, dark, and dry area like an interior closet is ideal. Avoid garages or attics where temperature swings can shorten food shelf life.
What's the best shelving style for plastic bins?
What's the best shelving style for plastic bins?
Deep shelving units let you store more bins efficiently. Measure carefully to ensure bins slide in and out easily.
Plastic-lidded bins make it easy to keep your dehydrated pantry tidy, bug-free, and ready for anything. By choosing opaque, airtight containers and pairing them with oxygen absorbers, you’ll enjoy peace of mind knowing your food is safe.
And when you’re ready to enjoy it, grab your free 5 Dried Food Recipes You'll Actually Love PDF (below). It includes favorites like carrot soup, split pea soup, minestrone, spicy beef jerky, and banana cinnamon rolls - perfect dishes to make from your well-stored foods!
Get 5 Dried Food Recipes You'll Actually Love

Here's where you can get your copy of our all new
5 Dried Food Recipes (That Actually Taste Great)
They're my all-time favorite easy dried food meals!
Get it here right now.
For Free!
You Might Like These
Feed Buckets With Lids: Safe Long-Term Food Storage
Food-grade feed buckets with lids keep dehydrated foods safe—airtight, pest-free, and stackable for long-term storage.
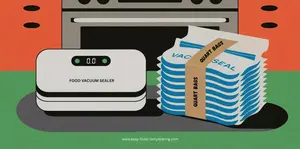
Food Vacuum Sealer Bags: Best Picks for Dehydrated Food
How to choose the best food vacuum sealer bags for dehydrated food—thickness, texture, sealing tips, and FAQs included!
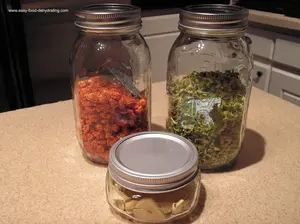
Mason Jars for Dehydrated Food: Fresh, Easy Storage
Airtight, reusable Mason jars keep dehydrated foods fresh & visible—perfect for quick daily use and long-term storage.
Food Vacuum Sealer Instructions - How-To Guide Part 2
How to use a FoodSaver® vacuum sealer with step-by-step instructions, part 2. Tips for sealing Mylar bags, and more.
Dehydrated Food Storage Wall: Easy DIY Pantry Hub
Build a dehydrated food storage wall with DIY tips, cost-saving ideas, and photos to inspire your pantry plan.
Nesco Food Dehydrator: Reliable, Budget-Friendly Choice
The Nesco Food Dehydrator is a top pick for beginners or pros. Expandable trays, easy setup, and reliable results!

You Might Like These
Feed Buckets With Lids: Safe Long-Term Food Storage
Food-grade feed buckets with lids keep dehydrated foods safe—airtight, pest-free, and stackable for long-term storage.
Food Vacuum Sealer Bags: Best Picks for Dehydrated Food
How to choose the best food vacuum sealer bags for dehydrated food—thickness, texture, sealing tips, and FAQs included!
Mason Jars for Dehydrated Food: Fresh, Easy Storage
Airtight, reusable Mason jars keep dehydrated foods fresh & visible—perfect for quick daily use and long-term storage.
Food Vacuum Sealer Instructions - How-To Guide Part 2
How to use a FoodSaver® vacuum sealer with step-by-step instructions, part 2. Tips for sealing Mylar bags, and more.
Dehydrated Food Storage Wall: Easy DIY Pantry Hub
Build a dehydrated food storage wall with DIY tips, cost-saving ideas, and photos to inspire your pantry plan.
Nesco Food Dehydrator: Reliable, Budget-Friendly Choice
The Nesco Food Dehydrator is a top pick for beginners or pros. Expandable trays, easy setup, and reliable results!
Before You Go...
If you enjoyed this page, tap the ❤️ in the lower right-hand corner.
It saves this page to your Grow bookmarks so you can find it again later.
You’ll also see quick share buttons to copy the link, post to Facebook,
or save it straight to Pinterest.
What We Mean by “Dehydrate”
Here at Easy Food Dehydrating, “dehydrate” always means using an electric food dehydrator — the easy, reliable way to dry food at home.
Click the "Save" button (above) to pin
this page’s ideas to your Pinterest board!


LATEST READS on EFD
-
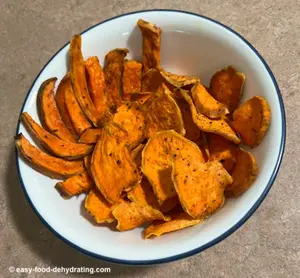
Dehydrated Sweet Potato Treats: Human and Dog Approved
May 12, 26 09:01 AM
 Make these dehydrated sweet potato treats for you AND your dog. Plus dog-safe tips for sharing the love of snacking!
 -
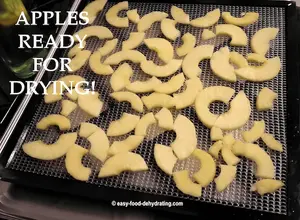
Dehydrate Apples for Snacks and Pantry Storage
May 11, 26 09:07 AM
 Dehydrate apples easily: slice, prevent browning, dry at 125–135°F, and store for snacks, pies, or pantry use.
 -
Green Split Pea Soup Made Easy in the Slow Cooker
Apr 30, 26 09:10 AM
 Easy slow cooker green split pea soup with ham, carrots, and celery—comforting, flavorful, and simple to make.

Unlock the Secrets of Food Dehydrating... from Fruit 'n' Veg to Doggie Dinners!


AFFILIATE DISCLOSURE: I am an Affiliate for Amazon, and other sellers of quality merchandise. Should you purchase an item through their links, I may receive compensation. The price you pay does not increase. THANKS for your support! Read full disclosure here.
easy FOOD DEHYDRATING: Making food preservation simple since 2010. I show you how to keep your food pantry full, whatever the reason or season!

HOME ARTICLES CONTACT DMCA DISCLAIMER FAQ PRIVACY SITEMAP TERMS TESTIMONIALS
ALL CONTENT COPYRIGHT © 2010-2025 • ALL RIGHTS RESERVED REGARDLESS OF LINKS OR ATTRIBUTIONS.
POWERED BY SBI! (SOLO BUILD IT!)
As an Amazon Associate, I earn from qualifying purchases.