- Home
- What Is Food Dehydrating
- Common Food Dehydrating Mistakes

12 Common Food Dehydrating Mistakes—and How to Fix Them

Dehydrating food is a practical way to stock your pantry, but a few simple mistakes can leave you with unevenly dried pieces, disappointing flavor, or food that doesn’t store as well as expected. Beginners aren’t the only ones who run into these problems—I’ve certainly learned a few lessons from my own dehydrating over the years!
✅ Quick Answer: What are the most common mistakes when dehydrating food?
The most common mistakes when dehydrating food include overcrowding the trays, cutting uneven pieces, using the wrong temperature, skipping necessary preparation, failing to test for dryness, and packaging food before it has cooled completely. Proper airflow, preparation, doneness testing, cooling, and storage help food dry evenly and reduce the risk of moisture and mold developing later.
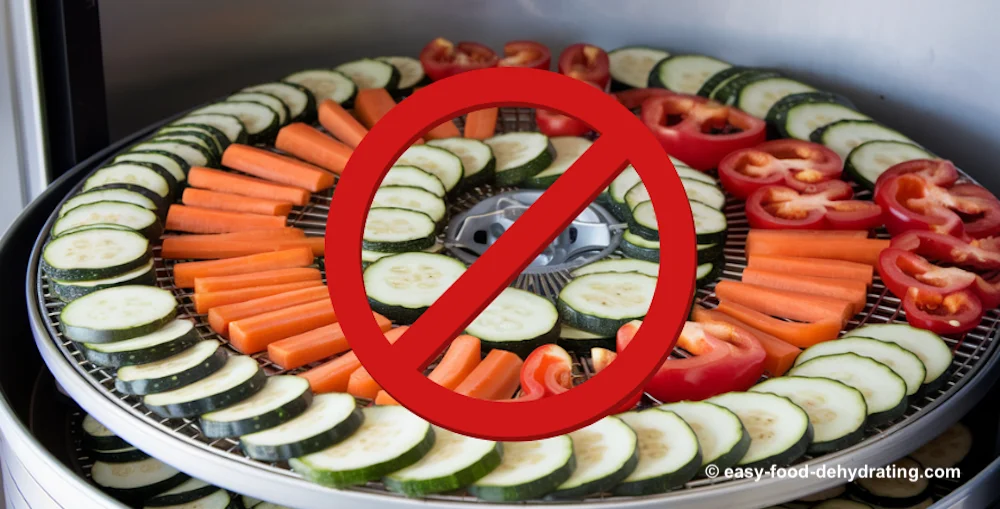
Below, I’ll show you 12 common food dehydrating mistakes, explain why they happen, and give you practical ways to fix or prevent them. A little extra care with preparation, temperature, airflow, doneness testing, and storage can make a noticeable difference to every batch.
1. Overcrowding the Dehydrator Trays
Your dehydrator trays are not a minivan stuffed with people! When food is crowded or overlapping, air cannot circulate properly around each piece. That leads to uneven drying, with some pieces ready long before others.
Arrange food in a single layer and leave a little space between the pieces whenever possible. A slight overlap may be acceptable for leafy herbs or greens that shrink quickly, but fruit, vegetables, and meat should not be piled on top of one another.
If your batch won’t fit comfortably, use another tray or dry it in two batches. Giving the food enough room helps moisture escape and makes it much easier to judge when the entire batch is properly dried.
2. Cutting Food into Uneven Pieces
Food cut into different sizes or thicknesses will not dry at the same rate. Thin pieces may become overly dry while thicker ones still contain enough moisture to cause problems during storage.
Aim for pieces that are as uniform as reasonably possible, following the recommended thickness for the particular food you’re drying. A mandoline slicer can make even slices quickly, but a sharp knife and a little care work perfectly well too.
You may still need to remove a few pieces before the rest are finished—that’s normal. Consistent cutting simply reduces the difference in drying times and makes the batch much easier to monitor.
3. Turning Up the Temperature to Dry Food Faster
Turning up the temperature may seem like an easy way to shorten the drying time, but excessive heat can dry the outside of the food before moisture has escaped from the center. This is known as case hardening.
Case-hardened food may feel dry on the surface while remaining moist inside. If it is packaged in that condition, the hidden moisture can shorten its storage life and encourage mold or spoilage.
Use the temperature recommended for the particular food rather than relying on one setting for everything. As a general guide, vegetables are commonly dried around 125°F (52°C) and fruits around 135°F (57°C), while delicate herbs generally need a lower temperature. Meat, poultry, and fish require their own food-safety preparation and temperature instructions.
Check my individual fruits and vegetables hub pages for food-specific temperatures, preparation steps, drying times, and doneness tests.
4. Skipping the Recommended Preparation
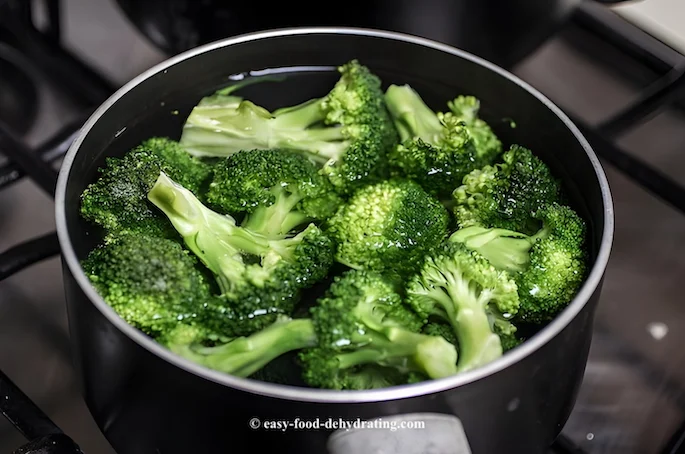
Preparation varies according to the food you’re drying. Skipping a recommended step can affect its color, flavor, texture, drying time, and storage quality.
Many vegetables benefit from blanching before dehydrating. Blanching slows enzyme activity, helps preserve color and flavor, and can shorten the drying and rehydrating time. However, not every vegetable requires the same treatment, so check the instructions for that particular food.
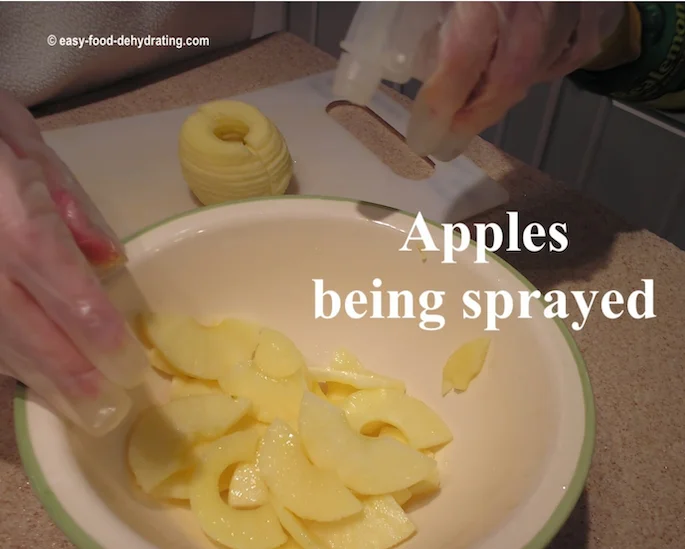 Spraying apples with lemon juice to deter browning
Light-colored fruits such as apples and bananas may darken after cutting. An ascorbic acid pretreatment is generally more effective at controlling browning, although lemon juice can be a convenient alternative when appearance rather than safety is the concern.
Preparation is especially important when dehydrating meat, poultry, fish, or eggs because those foods require specific food-safety procedures. Don’t assume that a method used for fruit or vegetables can be applied to every type of food.
5. Packaging or Storing Dried Food Incorrectly
Even properly dried food can deteriorate if it is packaged while warm or exposed to air and humidity. Allow the food to cool completely before placing it in a clean, dry container—but don’t leave it sitting uncovered for hours, where it can begin absorbing moisture from the room.
Package dried food in airtight containers or properly sealed bags and store it in a cool, dry, dark place. Heat, light, air, and moisture can all shorten its storage life and reduce its color, flavor, and quality.
During the first several days, check the container for condensation or other signs of moisture. If moisture appears but there is no mold or spoilage, return the food to the dehydrator, dry it further, cool it completely, and repackage it. Discard any food that shows mold.
Oxygen absorbers remove oxygen; they do not absorb moisture. Use them only with food that is already thoroughly dried and cooled, and choose packaging appropriate for the food and its intended storage period.
6. Relying on the Clock Instead of Testing for Dryness
Drying times are always estimates. The actual time can change with the food’s thickness and moisture content, the size of the batch, room humidity, dehydrator design, and even the position of the trays.
Begin checking the food near the early end of the recommended time, but don’t remove the entire batch merely because the clock says it should be ready. Take out a piece, allow it to cool, and then perform the appropriate doneness test. Warm food often feels softer and more flexible than it will after cooling.
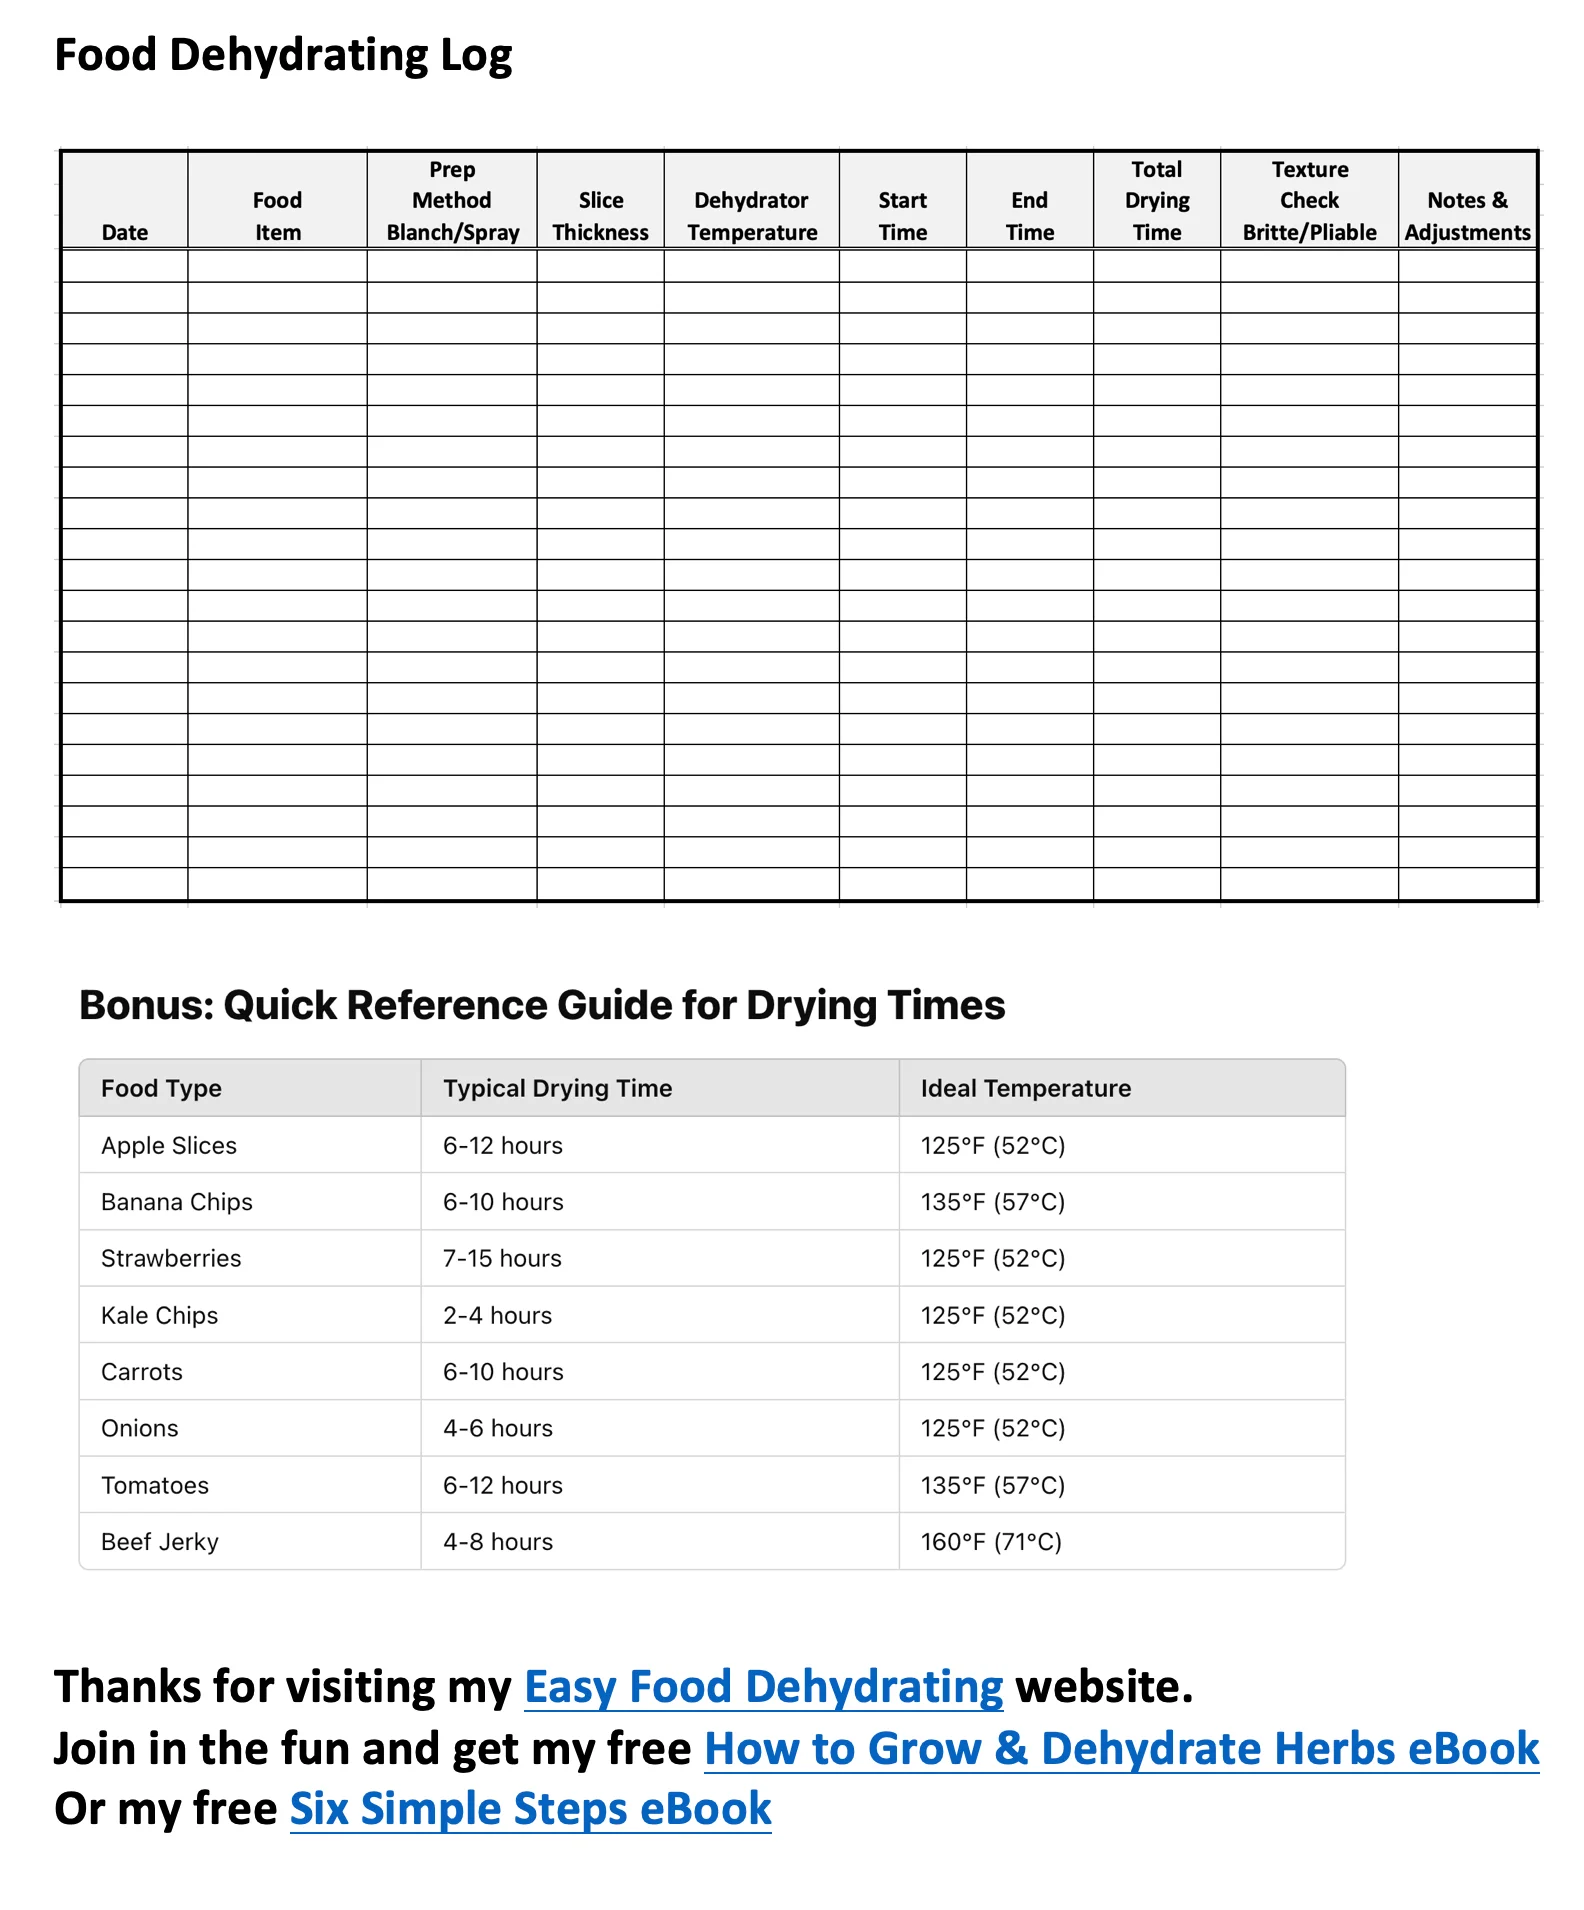
Keeping a dehydration log is still extremely helpful. Record the food, preparation method, thickness, temperature, approximate drying time, and final result. Your notes will make the next batch easier to plan—but always confirm doneness by examining the food itself.
Track Every Batch —
and Make the Next One Better
Download your free
Dehydrating Food Log HERE or click the image!
Instant download - no email addy needed.
7. Ignoring Uneven Drying Between Trays
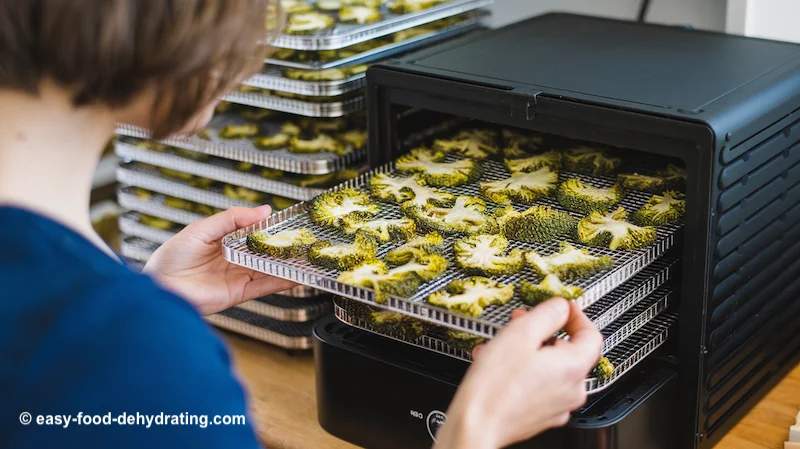
Dehydrators do not all circulate air in the same way. In some models, particular trays or areas dry faster than others because of the fan position, heating pattern, tray arrangement, or amount of food being dried.
Check the trays periodically and follow your dehydrator manufacturer’s recommendations. If your model dries unevenly, rotate or reposition the trays during drying. Depending on the design, that may mean moving upper trays downward, turning trays from front to back, or doing both.
Tray rotation isn’t necessary with every dehydrator, and opening the machine too frequently can release heat and lengthen the drying time. Pay attention to how your own dehydrator performs and rotate only as needed.
8. Drying Incompatible Foods Together
Different foods may require different temperatures, preparation methods, and drying times. Strong aromas can also transfer from one food to another, so drying onions alongside apples probably won’t produce the result you were hoping for!
You can dry different foods together when they use the same temperature and have compatible aromas. Their drying times do not have to be identical, provided you check the trays and remove each food as soon as it is properly dried.
Keep raw meat, poultry, and seafood separate from fruits, vegetables, herbs, and other ready-to-eat foods to prevent cross-contamination. These animal foods also require their own preparation and food-safety procedures.
When in doubt, dry foods separately. It makes temperature control, doneness testing, and recordkeeping much simpler.
9. Ignoring Humidity While Food Is Drying
A dehydrator works by moving moisture out of the food and into the surrounding air. When that air is already humid, drying generally takes longer and the food may reabsorb moisture more quickly after it leaves the dehydrator.
In a humid climate, operate the dehydrator in an air-conditioned or dehumidified room if possible. Avoid particularly damp locations, and don’t rely on the estimated drying time—allow the food additional time when needed.
Test doneness according to the type of food. Vegetables should generally be brittle or crisp, while properly dried fruit is usually leathery and pliable without visible moisture or stickiness. Always allow a test piece to cool before deciding whether it is dry.
Once the batch is finished, cool and package it promptly so it has less opportunity to absorb moisture from the room.
10. Skipping the Conditioning Step for Dried Fruit
Even when the pieces in a batch appear dry, some may retain slightly more moisture than others. Conditioning allows that remaining moisture to distribute more evenly among the pieces and helps reveal fruit that needs additional drying.
After the dried fruit has cooled completely, pack it loosely in clean, dry glass or plastic containers. Seal the containers and leave them for 7 to 10 days, shaking them daily to separate the pieces and checking carefully for condensation.
If condensation appears and there is no sign of mold or spoilage, return the fruit to the dehydrator for additional drying. Cool it completely before beginning the conditioning process again. Discard the entire container if you see mold.
Conditioning is generally recommended for home-dried fruit. Properly dried vegetables should be brittle or crisp and do not normally require conditioning.
For additional guidance, see the National Center for Home Food Preservation’s recommendations for conditioning and storing dried foods.
11. Adding Too Much Seasoning Before Drying
Seasonings can make dried fruit, vegetable chips, and jerky much more interesting, but their flavors often become stronger as moisture leaves the food. A coating that tastes mild before drying may become surprisingly salty, sweet, or spicy afterward.
Begin with a light, even coating and make a small test batch when trying a new seasoning blend. You can always add more seasoning after drying, but you can’t take it back out!
Cinnamon works well with apple slices, while chili powder can add a sweet-and-spicy kick to mango. For savory vegetable chips, use garlic salt sparingly or choose garlic powder so you can control the amount of salt separately.
Avoid coating foods heavily with oil because excess fat can slow drying and shorten storage life. If you use oil to help seasonings stick, use only a very small amount and plan to enjoy the finished food sooner rather than treating it as a long-term pantry item.
12. Starting with Food That Is Past Its Best
Dehydrating preserves food; it does not reverse spoilage or transform poor-quality ingredients into good ones. Food that tastes stale, flavorless, or unpleasant before drying will not improve in the dehydrator.
Begin with fresh, wholesome fruit and vegetables that are free from mold, decay, and other signs of spoilage. Wash produce thoroughly and remove damaged portions during preparation. Discard food that smells spoiled, feels slimy, or shows mold rather than trying to save it by drying.
Meat, poultry, fish, and eggs must also be fresh, handled hygienically, and kept at safe temperatures before preparation. Dehydration should never be used as a rescue method for animal foods that may have been stored improperly.
Starting with good-quality food gives you better flavor, color, texture, and storage results—and removes one problem that no amount of extra drying can fix.
Frequently Asked Questions About Food Dehydrating Mistakes
How do I know if my food is fully dehydrated?
How do I know if my food is fully dehydrated?
Remove a piece from the dehydrator and allow it to cool before testing it. Properly dried fruit is generally leathery and pliable without visible moisture, while vegetables should usually be brittle or crisp. Because doneness varies by food, follow the specific test recommended for the item you are drying.
What happens if I dehydrate food at too high a temperature?
What happens if I dehydrate food at too high a temperature?
Excessive heat can dry or harden the outside before moisture escapes from the center. This is called case hardening. The food may appear finished while still containing enough moisture to cause problems after it is packaged.
Can I dry different foods in the dehydrator at the same time?
Can I dry different foods in the dehydrator at the same time?
Yes, provided the foods require the same temperature and have compatible aromas. Check each food separately and remove it when properly dried. Keep raw meat, poultry, and seafood separate from produce and other ready-to-eat foods.
Is it okay to skip pretreatments such as blanching or an ascorbic acid dip?
Is it okay to skip pretreatments such as blanching or an ascorbic acid dip?
It depends on the food. Blanching many vegetables and pretreating light-colored fruits primarily helps preserve quality, although the recommended preparation varies by food. Safety-related preparation for meat, poultry, seafood, and eggs should never be skipped.
What should I do if condensation appears inside a storage container?
What should I do if condensation appears inside a storage container?
If you see condensation but no mold or spoilage, return the food to the dehydrator and dry it further. Allow it to cool completely before repackaging it. Discard the entire container if any mold is present.
Final Thoughts: Better Drying Comes with Practice
Every batch teaches you something. By paying attention to preparation, temperature, airflow, doneness, cooling, and storage, you’ll avoid many of the problems that lead to disappointing results or wasted food.
Don’t worry if your first few batches aren’t perfect. Keep notes, learn how your particular dehydrator performs, and use the food-specific instructions on Easy Food Dehydrating whenever you try something new.
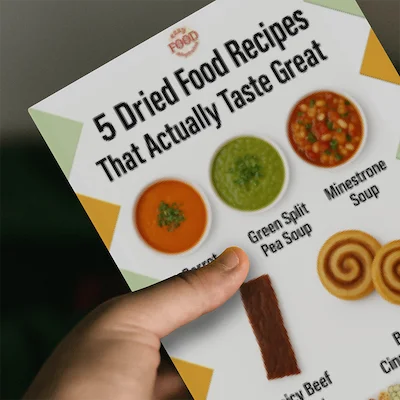
If you’d like more tasty ways to use dried food, don’t miss my free 5 Dried Food Recipes That Actually Taste Great PDF below—featuring carrot soup, minestrone, split pea soup, spicy beef jerky, and even banana cinnamon rolls.
5 Free Dried Food Recipes
That Actually Taste Great
Put your dried food to delicious use!
Five very different recipes.
Not one dull bite...
5 Free Dried Food Recipes
That Actually Taste Great
Put your dried food to delicious use!
Five very different recipes.
Not one dull bite...
More From Easy Food Dehydrating
Food Shortage Preparedness: How to Get Ready Now
Practical steps to prepare for food shortages: what to stock, how to grow, dehydrate, & store food safely—without panic.
How to Rehydrate Dehydrated Pasta Using Less Water and Fuel
Learn how to rehydrate dehydrated pasta with boiling water, plus Lori’s tests using macaroni, wide noodles, and mostaccioli.
Dehydrated Potato-Beaded Necklace: Janetta’s DIY Idea
Make a dehydrated potato-beaded necklace like Janetta: dry, paint, seal, and string rock-hard potato beads.
Selling Dehydrated Food for Fun and Profit
Can you make money selling dehydrated food? Explore product ideas, cottage food laws, labeling, safety, costs, and practical tips before you start.
Why Dehydrate Food: 7 Important Reasons to Consider
Discover 7 practical reasons to dehydrate food: reduce waste, save space and money, preserve seasonal produce, and prepare convenient snacks.
How to Dehydrate Nuts and Seeds: Drying and Storage
Learn when nuts and seeds need dehydrating, whether soaking is optional, how to test for dryness, and how refrigeration or freezing protects quality.



More From Easy Food Dehydrating
Food Shortage Preparedness: How to Get Ready Now
Practical steps to prepare for food shortages: what to stock, how to grow, dehydrate, & store food safely—without panic.
How to Rehydrate Dehydrated Pasta Using Less Water and Fuel
Learn how to rehydrate dehydrated pasta with boiling water, plus Lori’s tests using macaroni, wide noodles, and mostaccioli.
Dehydrated Potato-Beaded Necklace: Janetta’s DIY Idea
Make a dehydrated potato-beaded necklace like Janetta: dry, paint, seal, and string rock-hard potato beads.
Selling Dehydrated Food for Fun and Profit
Can you make money selling dehydrated food? Explore product ideas, cottage food laws, labeling, safety, costs, and practical tips before you start.
Why Dehydrate Food: 7 Important Reasons to Consider
Discover 7 practical reasons to dehydrate food: reduce waste, save space and money, preserve seasonal produce, and prepare convenient snacks.
How to Dehydrate Nuts and Seeds: Drying and Storage
Learn when nuts and seeds need dehydrating, whether soaking is optional, how to test for dryness, and how refrigeration or freezing protects quality.
Before You Go...
If you enjoyed this page, tap the ❤️ in the lower right-hand corner. It saves this page to your Grow bookmarks so you can find it again later.
You’ll also see quick share buttons to copy the link, post to Facebook, or save it straight to Pinterest.
Test Your Food-Dehydrating
Know-How
Choose a food, make the right preparation, drying, and storage decisions—and see how many stars you can earn!
Play “Save the Harvest”Test Your Food-Dehydrating
Know-How
Choose a food, make the right preparation, drying, and storage decisions—and see how many stars you can earn!
What We Mean by “Dehydrate”
Here at Easy Food Dehydrating, “dehydrate” always means using an electric food dehydrator — the easy, reliable way to dry food at home.
What We Mean by “Dehydrate”
Here at Easy Food Dehydrating, “dehydrate” always means using an electric food dehydrator — the easy, reliable way to dry food at home.


LATEST READS on EFD


-
How to Dehydrate Citrus Slices: Lemons, Limes & Oranges
Sep 19, 26 03:28 PM
 Learn how to dehydrate citrus slices at 135°F. Easy steps for lemons, limes, and oranges with tips for checking doneness, conditioning, and storage.
 -
How to Dehydrate Cabbage: Temperature, Storage & Creamy Slaw
Sep 19, 26 11:57 AM
 Learn how to dehydrate cabbage at 125°F, including how to prepare, steam-blanch, test for doneness, condition, store, rehydrate, and make creamy coleslaw.
 -
How to Make Homemade Dog Food: Chicken & Beef Recipes
Sep 18, 26 01:11 PM
 Meet Chicken Chow-Chow and Bow Wow Beefy Chow, learn how I prepared Minnie’s meals, and discover what to consider before feeding homemade dog food daily.

Unlock the Secrets of Food Dehydrating... from Fruit 'n' Veg to Doggie Dinners!
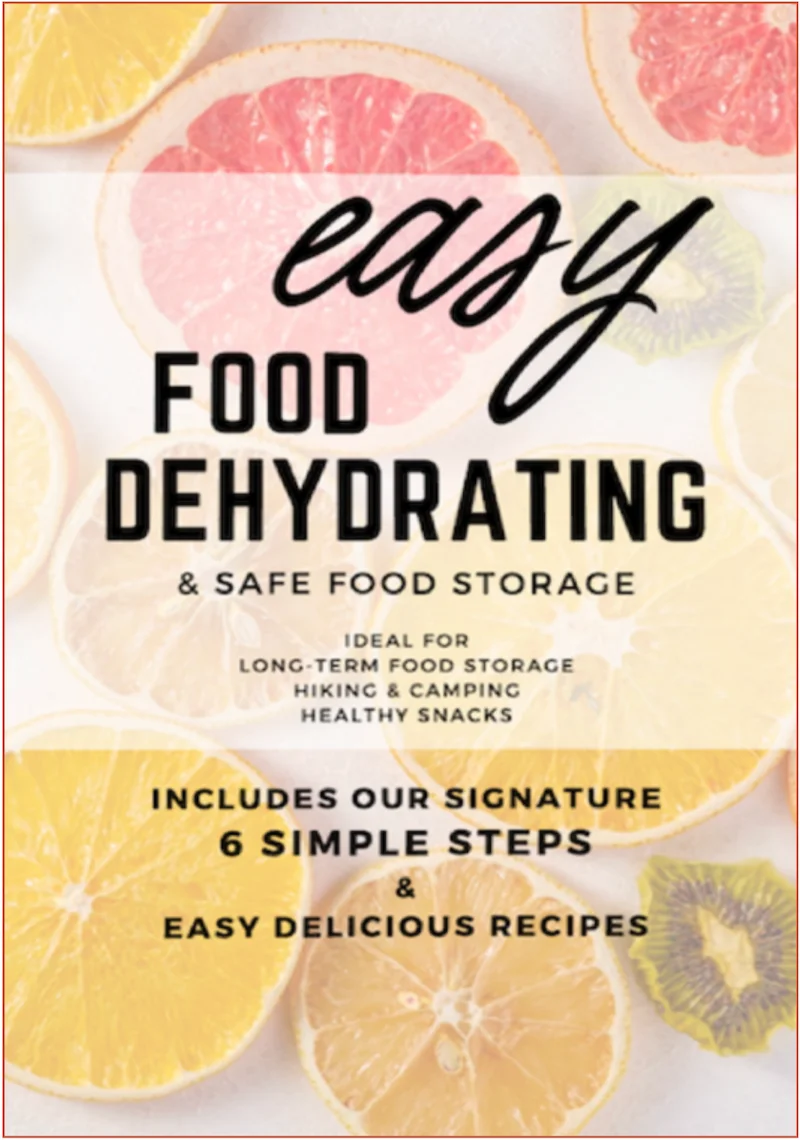
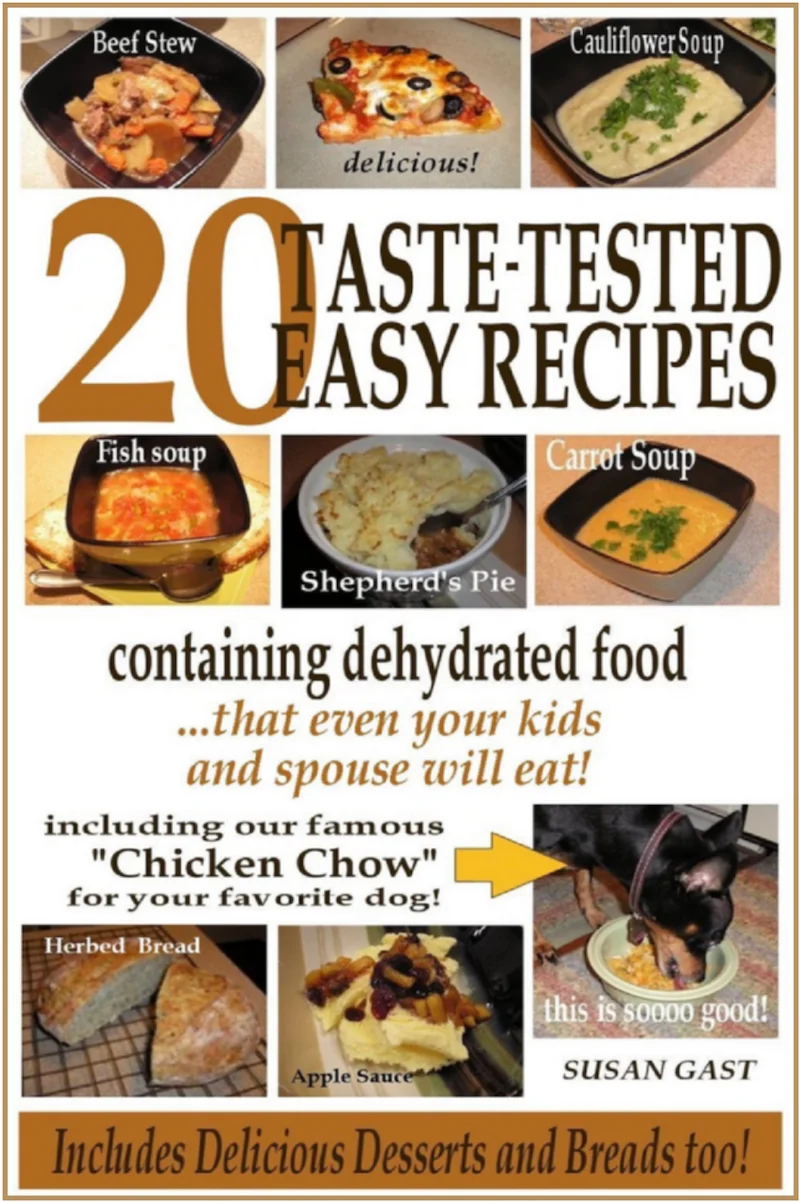


AFFILIATE DISCLOSURE: I am an Affiliate for Amazon, and other sellers of quality merchandise. Should you purchase an item through their links, I may receive compensation. The price you pay does not increase. THANKS for your support! Read full disclosure here.
easy FOOD DEHYDRATING: Making food preservation simple since 2010. I show you how to keep your food pantry full, whatever the reason or season!

HOME ARTICLES CONTACT ADVERTISING DISCLOSURE DISCLAIMER FAQ PRIVACY SITEMAP TERMS TESTIMONIALS
ALL CONTENT COPYRIGHT © 2010-2025 • ALL RIGHTS RESERVED REGARDLESS OF LINKS OR ATTRIBUTIONS.
POWERED BY SBI! (SOLO BUILD IT!)
As an Amazon Associate, I earn from qualifying purchases.