- Home
- How to Dehydrate Vegetables
- How to Dehydrate Pumpkin

How to Dehydrate Pumpkin for Slices, Powder & Dog Treats

Got extra fresh pumpkin? Turn it into crisp dried slices, convenient pumpkin powder, or plain treats for your dog instead of letting it go to waste.
In this guide, I’ll show you how to prepare and dehydrate fresh pumpkin, tell when it is completely dry, store it properly, and rehydrate pumpkin powder when you’re ready to use it. You’ll also find seasoning ideas, troubleshooting help, and a homemade pumpkin dog-treat recipe.
✅ Quick Answer: How do you dehydrate pumpkin?
Wash the pumpkin, cut it open, and remove the stem, seeds, stringy pulp, and skin. Cut the flesh into uniformly thin slices—about 1/8 to 1/4 inch thick—and arrange them in a single layer on your dehydrator trays without overlapping. Dehydrate at 135°F for approximately 9–11 hours, or until the pieces are completely dry and brittle. Allow them to cool, condition them for 5–7 days, and then store them in an airtight container in a cool, dark, dry place.

⚠️ IMPORTANT: Use fresh pumpkin only
Never dehydrate a carved pumpkin that has been sitting outdoors or used as a Halloween decoration. It may have been exposed to dirt, insects, animals, mold, and unsafe temperatures. Buy an extra fresh pumpkin specifically for dehydrating—and leave the jack-o’-lantern on the porch!
How to Choose the Best Pumpkin for Drying
Small sugar pumpkins—also called pie pumpkins—are usually the best choice for dehydrating. Their flesh is sweeter, denser, and less stringy than that of the large pumpkins commonly sold for carving.
Choose a mature pumpkin that feels firm and heavy for its size, with an intact stem and evenly colored skin. Avoid pumpkins with soft spots, cracks, bruises, mold, or other visible damage.
If you buy directly from a farm or farmers market, ask which smaller varieties have dense, flavorful flesh. And tell the farmer you learned how to dehydrate pumpkin on Easy Food Dehydrating! 😉
How to Dehydrate Pumpkin Step by Step
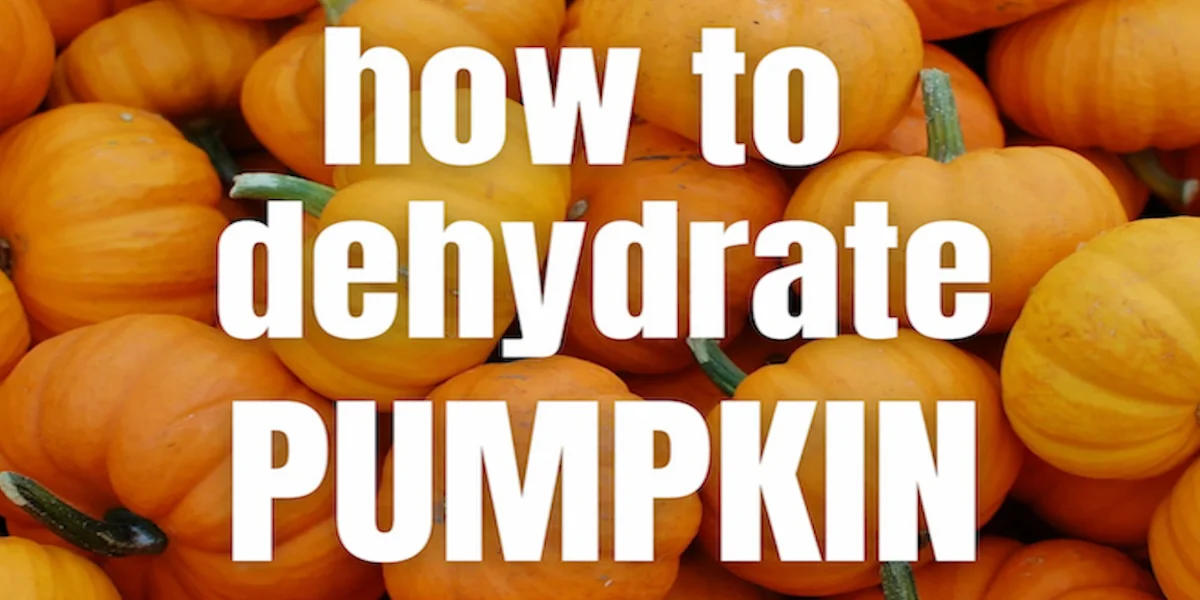
Pumpkin is easy to dehydrate once the thick skin, seeds, and stringy pulp have been removed. Uniform slices are especially important because pieces of different thicknesses will finish drying at different times.
- Wash and cut the pumpkin. Wash the outside thoroughly under cool running water. Place the pumpkin on a stable cutting board, remove the stem, and carefully cut the pumpkin in half.
- Remove the seeds, pulp, and skin. Scoop out the seeds and stringy pulp. Save the seeds if you plan to dry or roast them separately. Cut the pumpkin into manageable sections and remove the tough outer skin with a vegetable peeler or sharp knife.
- Slice the pumpkin evenly. Cut the flesh into slices approximately 1/8 to 1/4 inch thick. A mandoline or food processor can help produce uniform pieces, but always use the appropriate hand guard.
- Arrange the slices on the trays. Place the pumpkin in a single layer on the dehydrator trays. Leave a little space between the pieces and make sure they do not overlap.
- Dehydrate at 135°F. Dry for approximately 9–11 hours. Rotate the trays during drying if your dehydrator does not circulate air evenly, and begin checking the thinnest pieces before the estimated time is up.
- Check for dryness. Allow a test piece to cool before checking it. Properly dried pumpkin should feel completely dry and brittle, with no soft, flexible, or moist areas.
- Cool and condition. Let the pumpkin cool completely before placing it loosely in a clean glass jar. Condition it for 5–7 days, shaking the jar daily and checking for condensation or pieces that have become soft. If you see any moisture, return the pumpkin to the dehydrator.
💡 Outside the United States? Use my quick Fahrenheit-to-Celsius converter to find the equivalent Celsius temperature.
How to Store Dehydrated Pumpkin
Once the pumpkin has been conditioned successfully, transfer it to a clean, dry, airtight container. Glass Mason jars work well for pumpkin you expect to use regularly, while vacuum-sealed bags or Mylar bags provide additional protection for longer storage.
Label the container with the contents and drying date, and keep it in a cool, dark, dry location. Check it occasionally for condensation, softness, mold, or other signs of moisture. If you see mold, discard the entire batch.
An oxygen absorber may be used for longer-term storage, but only after you are certain that the pumpkin is thoroughly dried and properly conditioned. It does not compensate for moisture left in the food.
💡 Short on pantry space? See how I created a wall of dehydrated food where there appeared to be no storage space at all.
How to Season Pumpkin Before Dehydrating
Pumpkin can be dehydrated plain or lightly seasoned before drying. Keep the intended use in mind: sweet spices work well for snacks and baking, while savory seasonings are better suited to soups, stews, and side dishes.
For a sweet flavor
- Cinnamon
- Pumpkin spice blend
- A light sprinkle of ginger or nutmeg
For a savory flavor
- Sea salt
- Smoked paprika
- Chili powder
- Garlic powder
Apply dry seasonings lightly and evenly. Avoid adding oil before dehydrating because fat can shorten the pumpkin’s storage life.
⚠️ IMPORTANT: Keep pumpkin for dogs plain
If any of the dried pumpkin will be given to your dog, set those pieces aside before seasoning. Do not add salt, pumpkin spice blend, or other seasonings to your dog’s portion.
How to Make Pumpkin Powder from Dried Slices
Once the pumpkin slices are completely dry, brittle, and cool, grind them into powder using a high-powered blender, food processor, or spice grinder. Work in small batches, and allow the dust to settle before removing the lid.
If the powder feels damp or begins to clump, spread it on a lined dehydrator tray and dry it again before storing. Keep finished pumpkin powder in a clean, dry, airtight container in a cool, dark place.
Pumpkin powder works well in:
- Soups and stews
- Muffins, breads, and other baked goods
- Smoothies and protein shakes
- Sauces and spice rubs
- Homemade dog treats
Pumpkin powder can replace a small portion of the flour in some recipes, but it is not a direct one-for-one substitute for wheat flour because it contains no gluten and absorbs liquid differently.
And don’t throw away those pumpkin seeds! Learn how to dry and roast pumpkin seeds on my Dehydrating Nuts and Seeds page.
How Much Pumpkin Powder Do You Get?
Pumpkin loses a substantial amount of weight as its moisture is removed. As a useful estimate, 5 pounds of fresh pumpkin flesh may produce approximately 7 ounces—or roughly 1½–2 cups—of pumpkin powder.
This estimate is based on a kitchen trial reported by The Provident Homemaker. Your yield will vary according to the pumpkin variety, initial moisture content, trimming, slice thickness, final dryness, and how finely you grind the pieces.
| Raw Pumpkin Flesh | Approx. Dried Weight | Approx. Powder Volume |
|---|---|---|
| 1 lb | ≈ 1.4 oz | ≈ ⅓–½ cup |
| 3 lbs | ≈ 4 oz | ≈ 1–1¼ cups |
| 5 lbs | ≈ 7 oz | ≈ 1½–2 cups |
Pumpkin Drying Problems? Here’s How to Fix Them
- Slices are still flexible or sticky: They are probably not fully dry. Return them to the dehydrator, rotate the trays if necessary, and continue drying until the cooled pieces are brittle.
- Some pieces dry faster than others: The slices may be unevenly cut, or airflow may vary between trays. Remove finished pieces as they become brittle and continue drying the thicker or softer ones.
- The outside is hard but the center is soft: This may be case-hardening, which can occur when food dries too quickly at an excessively high temperature. Cut the pieces thinner and more evenly, and verify that your dehydrator is operating at approximately 135°F.
- Condensation appears during conditioning: Return the pumpkin to the dehydrator immediately and dry it more thoroughly. Wash and dry the conditioning jar before using it again.
- You see mold or notice an unusual odor: Discard the entire batch. Do not taste it or attempt to save individual pieces.
- Pumpkin powder begins to clump: Moisture may still be present. Spread the powder thinly on a lined tray and dry it again before allowing it to cool and returning it to a clean, dry container.
- The flavor or color fades during storage: Exposure to light, heat, moisture, and air can reduce quality. Store the pumpkin in an airtight container in a cool, dark, dry location.
Homemade Pumpkin Spice Blend
Despite its name, traditional pumpkin spice does not contain pumpkin. It is a warming blend of spices commonly used to flavor pumpkin pie and other fall recipes.

Ingredients
- 2 teaspoons ground cinnamon
- 1 teaspoon ground ginger
- 1/2 teaspoon ground cloves
- 1/4 teaspoon ground nutmeg
How to Make It
- Add all the spices to a small bowl.
- Stir until they are evenly combined.
- Transfer the mixture to a small airtight container.
- Label the container and store it in a cool, dark, dry place.
Use this blend in muffins, breads, oatmeal, desserts, or on pumpkin slices intended for people—not dogs.
How to Rehydrate Pumpkin Powder
To turn pumpkin powder into a soft purée, begin with this simple ratio:
- 1 tablespoon pumpkin powder
- 3 tablespoons warm water
Stir the powder and water together, then let the mixture rest for 5–10 minutes so the pumpkin can absorb the moisture. Add a little more powder if the purée is too thin, or more water if it is too thick.
Use the rehydrated pumpkin in soups, sauces, smoothies, baked goods, or homemade dog treats. Refrigerate any unused purée promptly in a covered container and use it within a few days.
Is Dehydrated Pumpkin Safe for Dogs?
Plain pumpkin is generally safe for most dogs when offered in small amounts. Dehydrated pumpkin is concentrated, however, so begin with a small piece and make sure your dog has plenty of fresh water available.
Pumpkin intended for dogs should contain no salt, sugar, oil, pumpkin spice blend, or other seasonings. Never give your dog moldy pumpkin, pieces from a carved jack-o’-lantern, or any product containing the sweetener xylitol, which is toxic to dogs.
Pumpkin can add fiber to a dog’s diet, but it should not be used as a substitute for veterinary care. Ask your veterinarian before introducing it if your dog has a medical condition, follows a restricted diet, or regularly experiences digestive problems.
Prefer a baked pumpkin treat instead? Here is my easy homemade recipe.
Homemade Pumpkin Dog Treats

Ingredients
- 1 cup plain fresh pumpkin purée
- 1½ cups whole-wheat flour
- ¼ cup dry oats
- ¼ cup cornmeal
- 2 large eggs
- 1 tablespoon honey
- Up to ½ cup water, added gradually
To make fresh pumpkin purée: Cut a small sugar or pie pumpkin in half and remove the seeds and stringy pulp. Place it cut-side down on a baking sheet and bake at 375°F for approximately 45–50 minutes, or until the flesh is tender. Let it cool, scoop the flesh from the skin, and blend until smooth. Measure 1 cup for this recipe and refrigerate or freeze the remainder.
How to Make the Pumpkin Dog Treats
- Preheat the oven to 375°F. Line a baking sheet with parchment paper.
- In a large bowl, combine the pumpkin purée, eggs, and honey.
- In a separate bowl, mix the whole-wheat flour, oats, and cornmeal.
- Gradually stir the dry ingredients into the pumpkin mixture. If the dough is too dry to work with, add water a little at a time. You may not need the entire ½ cup.
- On a lightly floured surface, roll the dough to approximately ¼-inch thick.
- Cut the dough into appropriately sized shapes and place them on the prepared baking sheet.
- Bake for approximately 35–40 minutes, or until firm and lightly browned. Baking time will vary according to the size and thickness of the treats.
- Cool the treats completely before offering one to your dog.
⚠️ These are baked treats containing fresh pumpkin and eggs—not shelf-stable dehydrated treats. Store them in a covered container in the refrigerator and use them promptly, or freeze them for longer storage. Discard them if you notice mold, excess moisture, or an unusual odor.
You may be tempted to try one yourself—and that’s OK. Just don’t let your dog catch you stealing the treats!

Bone-Shaped Cookie Cutters
Bone-shaped cookie cutters make the treats fun and recognizable, but any small cookie cutter will work. Choose a size appropriate for your dog, or cut the dough into simple squares with a knife or pizza cutter.
As an Amazon Associate, I earn from qualifying purchases. The price you pay does not increase. Read my disclosure here.

Want to Make More Food for Your Dog?
If you enjoyed making these pumpkin treats, take the next step with my Make Your Own Dog Food book. It’s a practical guide for dog owners who want to prepare wholesome homemade food for their pups.
The book is available in both eBook and paperback formats, so you can choose the version that works best for you.
Click the book cover to learn more about making your own dog food.
A homemade diet should meet your dog’s individual nutritional needs. Ask your veterinarian or a veterinary nutrition professional for guidance, particularly if homemade food will form most or all of your dog’s diet.
Mason Jars for Storing Dried Pumpkin
Glass Mason jars make it easy to see the contents and check dried pumpkin for signs of moisture. Quart jars work well for larger batches of pumpkin slices, while pint and half-pint jars are convenient for smaller quantities and pumpkin powder.

Mason Jars Regular Mouth Quart Jars
- Ball regular-mouth glass Mason jars
- Quart size (32 oz)
- Package of 12
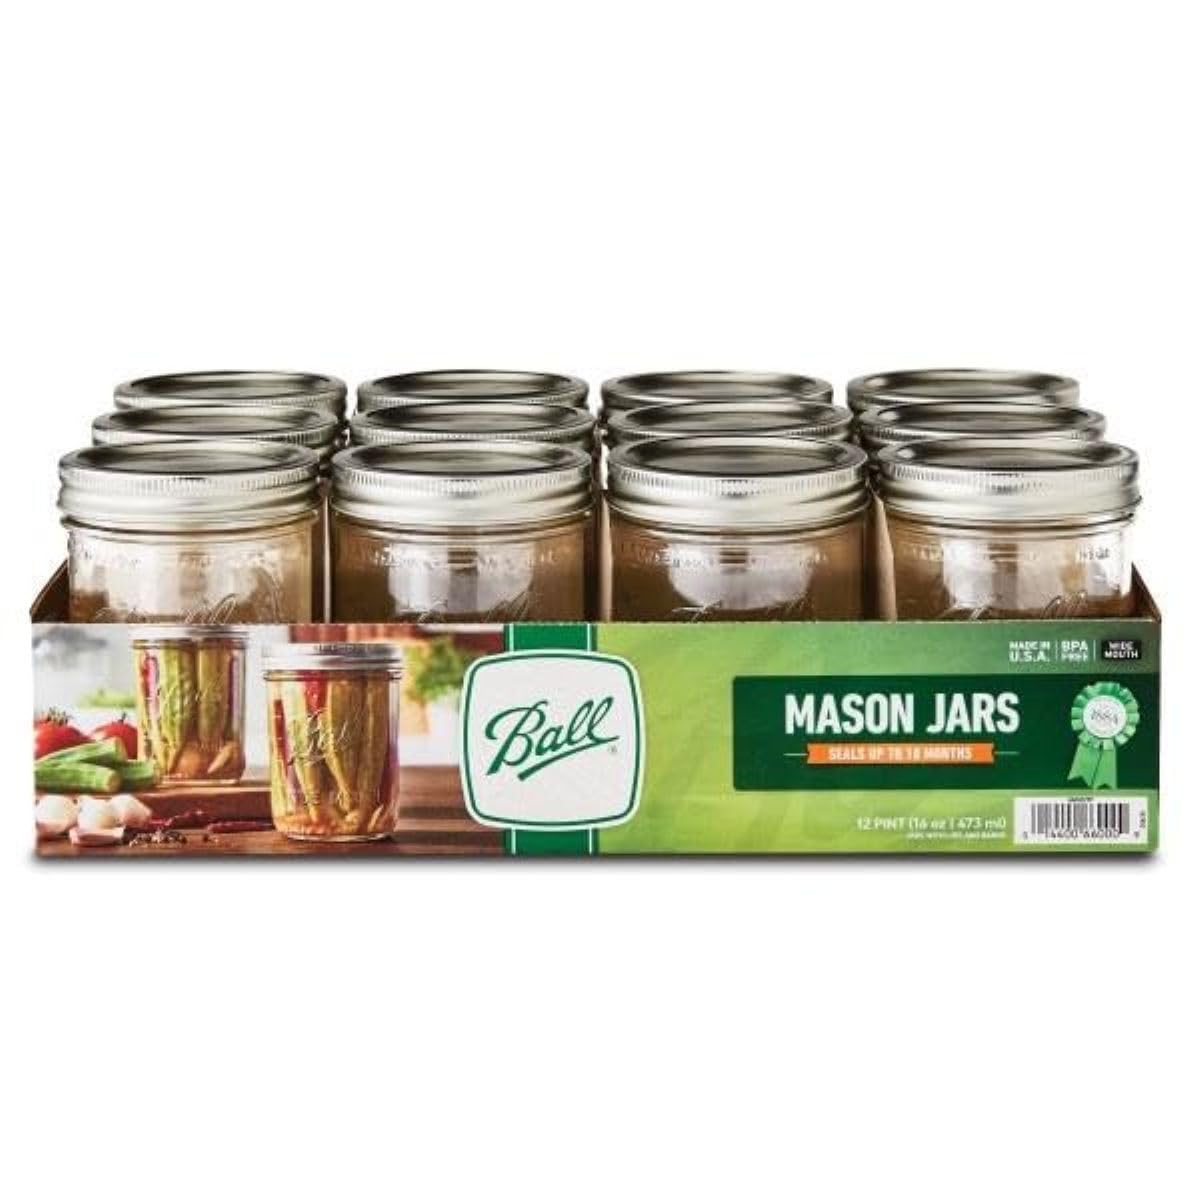
Mason Jars Wide Mouth Pint Jars
- Ball wide-mouth glass Mason jars
- Pint size (16 oz)
- Package of 12

Mason Jars Wide Mouth Half Pint Jars
- Ball wide-mouth glass Mason jars
- Half-pint size (8 oz)
- Package of 12

Kerr Wide Mouth Half-Pint Mason Jars
- Kerr wide-mouth glass Mason jars with lids and bands
- Half-pint size (8 oz)
- Package of 12
As an Amazon Associate, I earn from qualifying purchases — this does not affect the price you pay. Read full disclosure.
Helpful Tools for Preparing Fresh Pumpkin
Preparing a whole pumpkin is often the most challenging part of the job. A few sturdy kitchen tools can make cutting, peeling, scooping, and slicing it considerably easier—and safer.
You do not need every item below, but choose tools that feel secure in your hands and suit the way you prefer to prepare your pumpkin.

Pumpkin Carving Kit
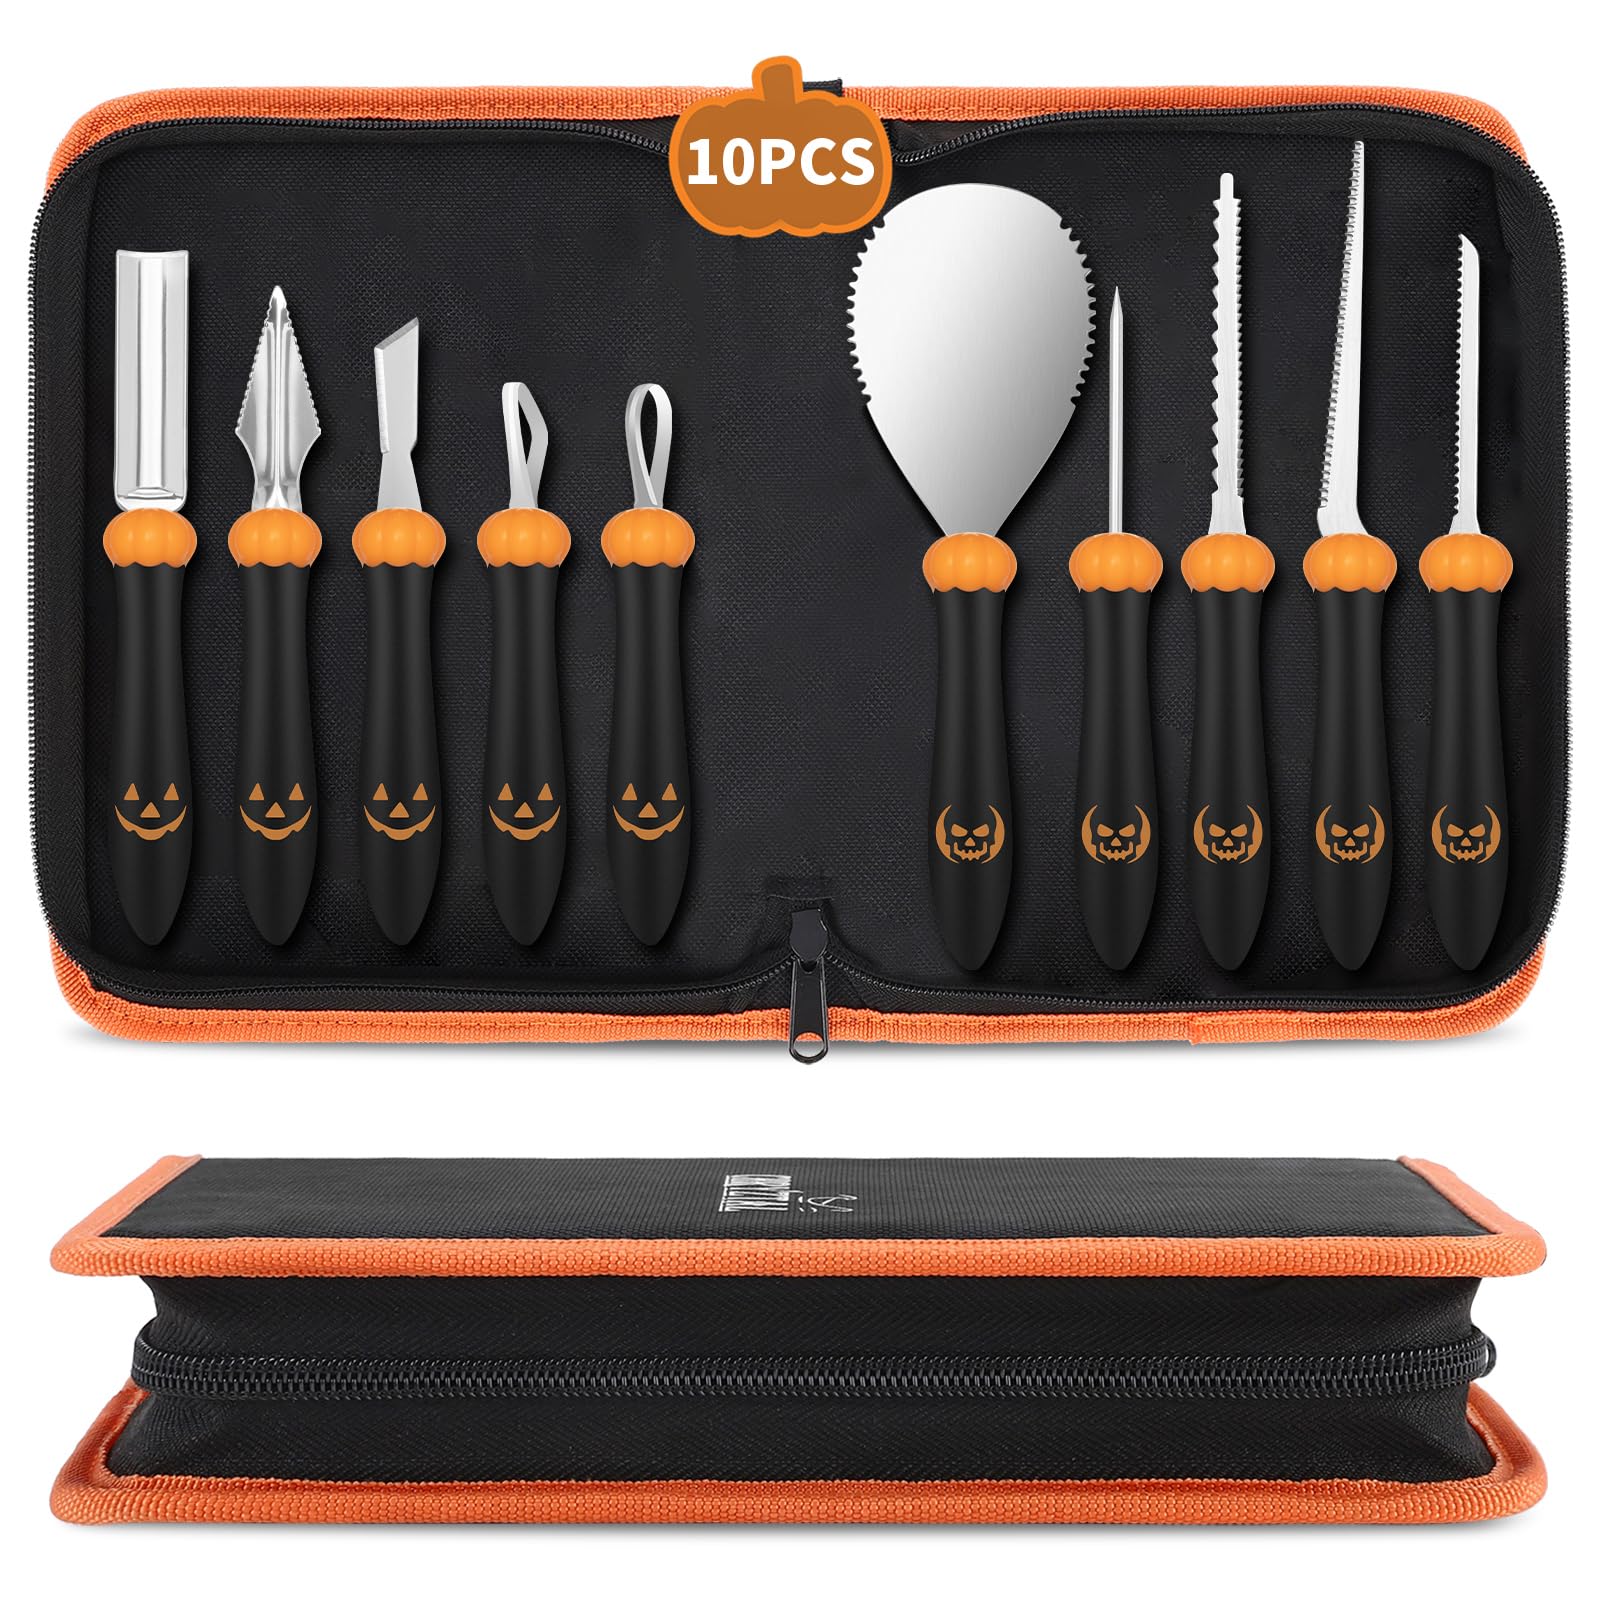
A sturdy pumpkin-carving kit can help with detailed Halloween designs, although ordinary kitchen tools are generally more useful when preparing pumpkin for dehydrating. Look for tools with comfortable, secure handles that will not bend easily.
Sharp Chef's Knife (by Cutluxe)
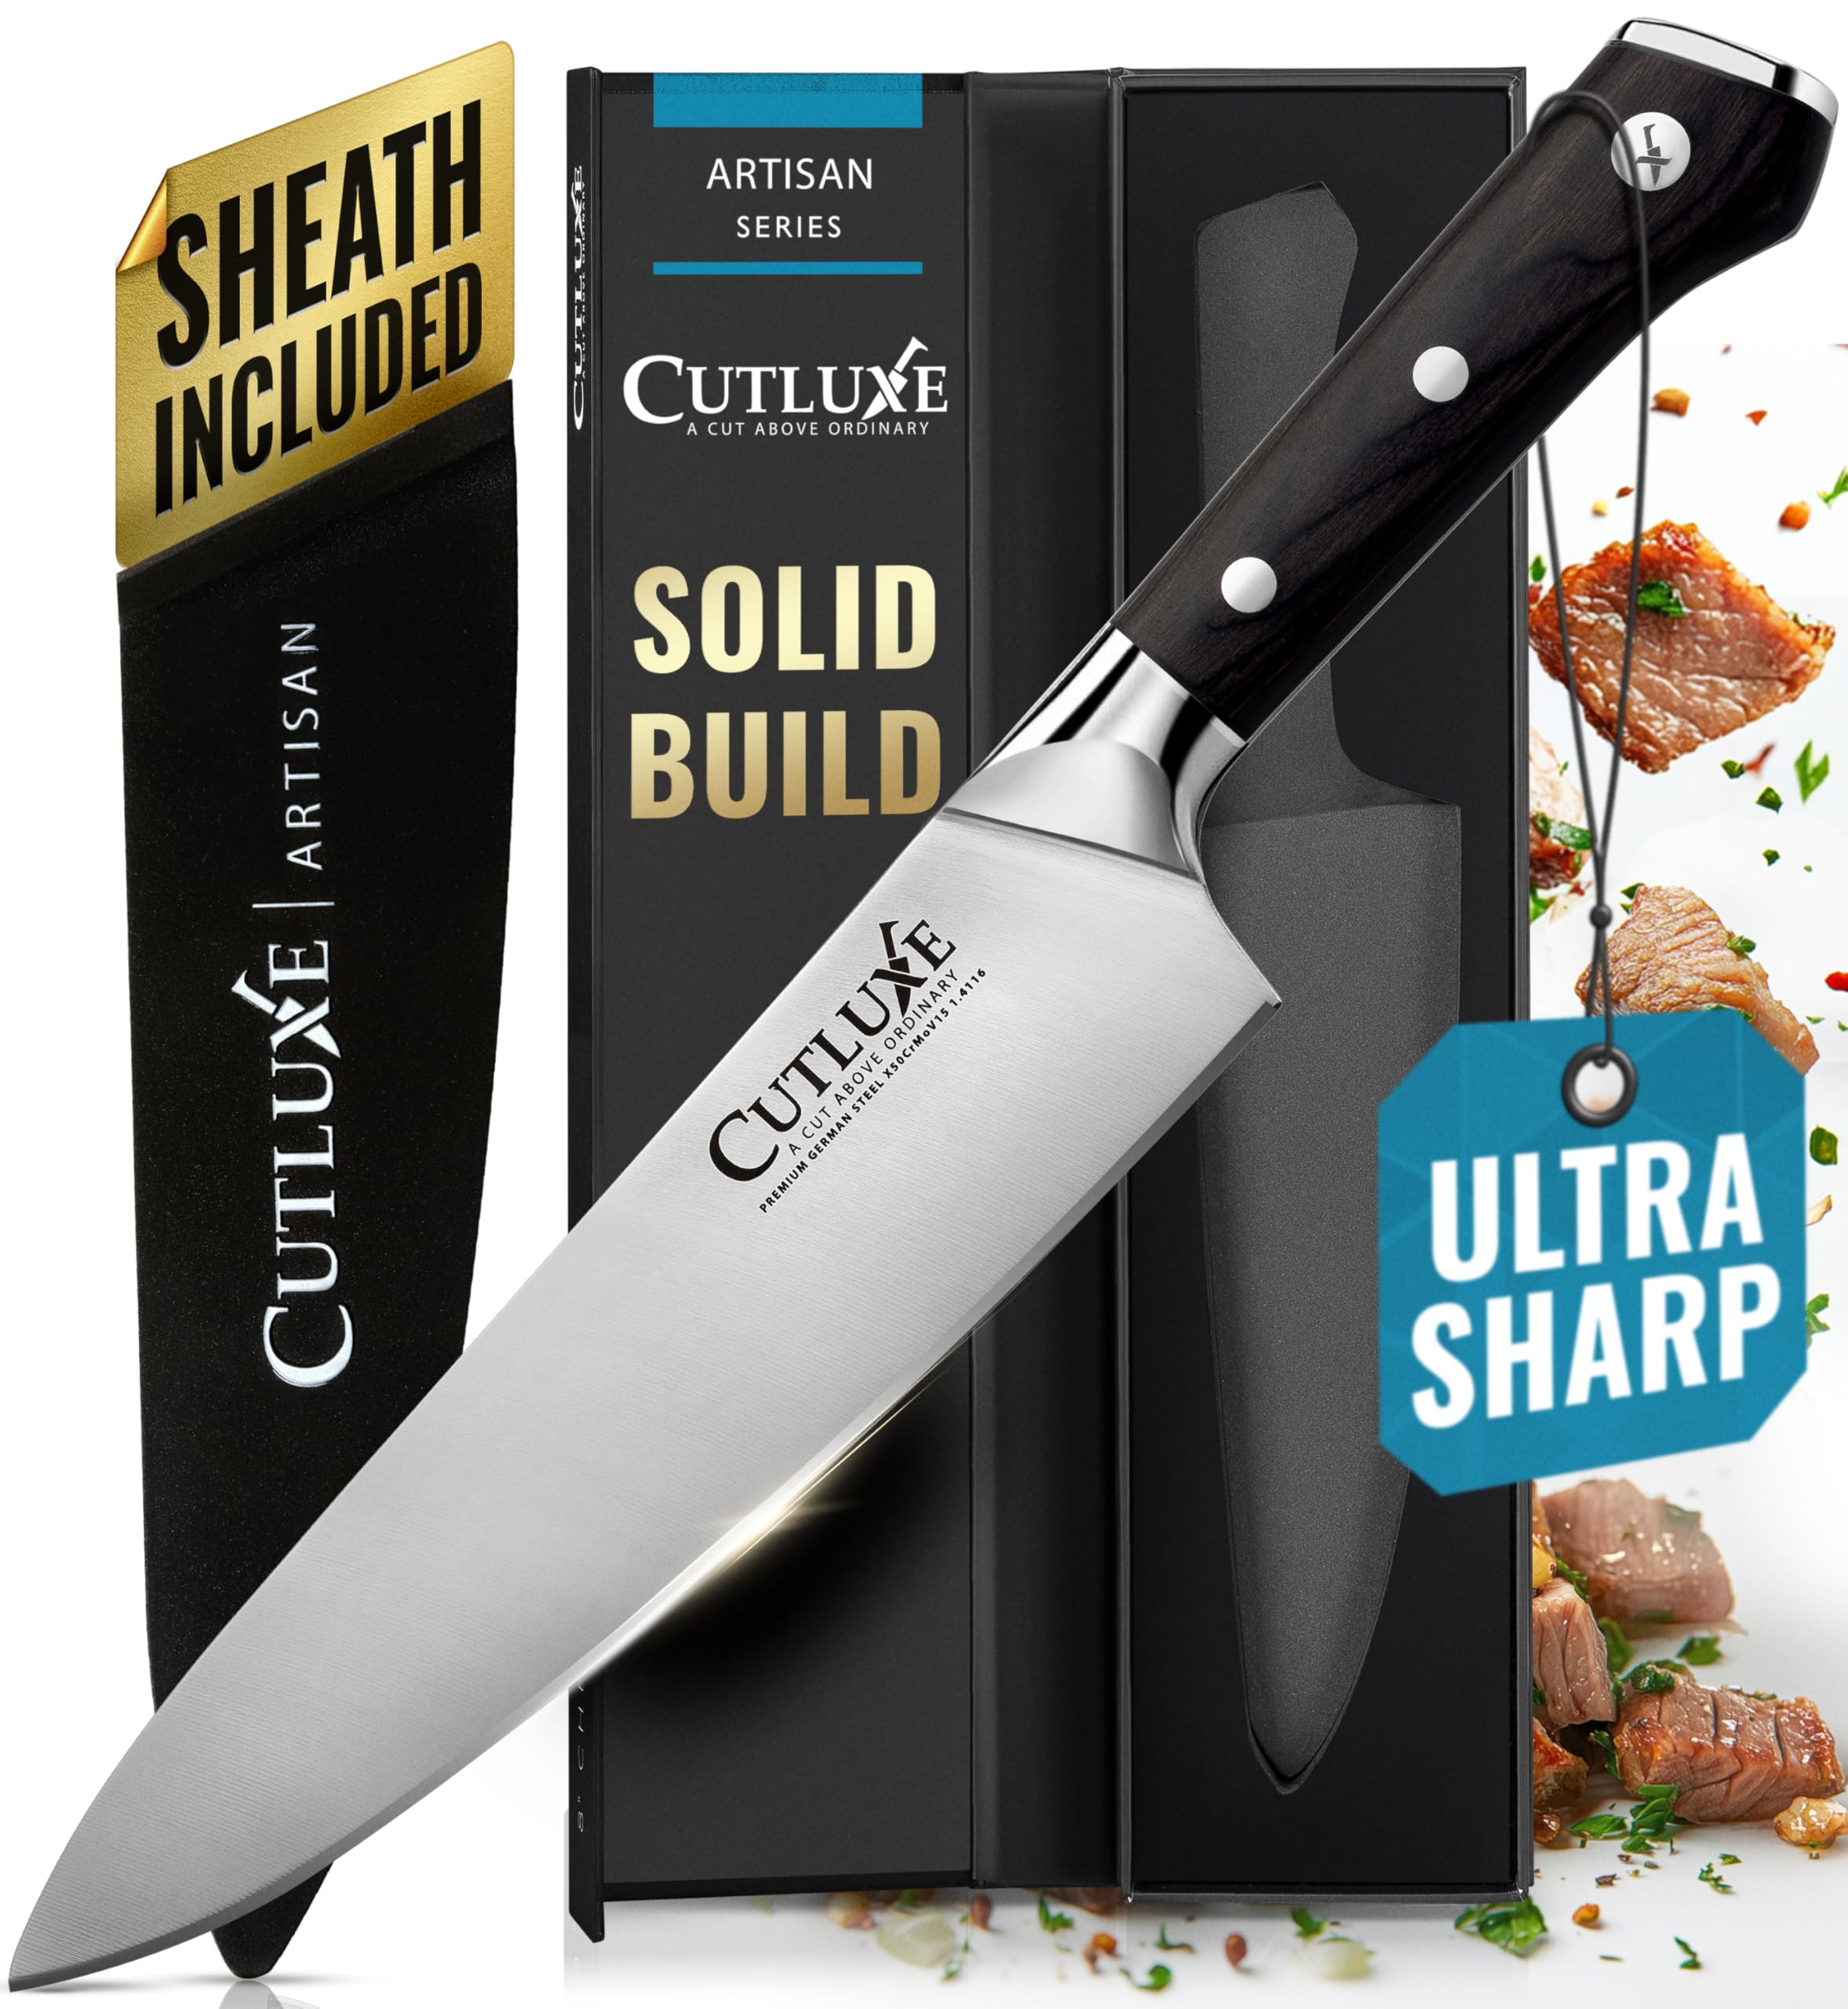
A sharp, sturdy chef’s knife makes it easier to cut a whole pumpkin into smaller, more manageable sections. This 8-inch Cutluxe knife has a full-tang design, meaning the steel extends through the handle for added strength, balance, and control. Always use it on a stable cutting board and keep your free hand clear of the blade.
Non-Slip Cutting Board

Thirteen Chefs Cutting Board Non-Slip Surface
Pumpkins are round, heavy, and sometimes difficult to control. A sturdy cutting board with a non-slip base helps keep the work surface stable while you cut the pumpkin into sections.
Vegetable Peeler
![OXO Good Grips Swivel Peeler]](https://m.media-amazon.com/images/I/71UBG06NKFL.jpg)
A strong vegetable peeler can be useful for removing the skin from smaller pumpkin sections. I’m an OXO-brand fan, but whichever peeler you use, always work slowly and keep your fingers clear of the blade.
Melon Baller / Scooper

A melon baller or sturdy scoop makes it easier to remove the seeds and scrape away the stringy pulp inside the pumpkin.
Don’t discard the seeds—see how to dry and roast pumpkin seeds on my Dehydrating Nuts and Seeds page.
Mandoline Slicer or Food Processor

A mandoline slicer or food processor fitted with a slicing blade can produce evenly sized pieces that dry at approximately the same rate.
Slice thickness matters: thicker pieces retain moisture longer, while very thin pieces may finish well before the rest of the batch. Always use the mandoline’s hand guard or wear cut-resistant gloves.
Try this awesome slicer I just had to get:

SUPMAKIN Slicer + Dicer Mandoline ~ OnceForAll Brand
This multifunction slicer and dicer can produce uniform slices and includes several cutting options for everyday meal preparation. See my full review of the SUPMAKIN slicer before deciding whether it suits your kitchen.
Safety Gloves

NoCry Premium Cut Resistant Gloves - Food-Grade
Cut-resistant food-grade gloves provide an extra layer of protection when peeling or slicing a hard, awkward pumpkin. They do not make a blade harmless, so continue working carefully and use all supplied safety guards.
As an Amazon Associate, I earn from qualifying purchases — this does not affect the price you pay. Read full disclosure.
Always handle pumpkin-cutting tools carefully, and keep sharp knives, slicers, and carving tools out of children’s reach. If children are helping, give them safe, age-appropriate tasks and supervise them closely.
Pumpkin Dehydrating FAQs
How long does pumpkin take to dry in a dehydrator?
How long does pumpkin take to dry in a dehydrator?
Pumpkin slices generally take approximately 9–11 hours to dry at 135°F. The actual time will depend on the thickness and moisture content of the pumpkin, the humidity, the dehydrator, and how fully the trays are loaded. Judge the pumpkin by dryness rather than time alone: cooled pieces should be completely dry and brittle.
Do you have to cook pumpkin before dehydrating it?
Do you have to cook pumpkin before dehydrating it?
No. The method on this page uses peeled, uniformly thin slices of raw pumpkin. Cooked pumpkin or pumpkin purée can also be dehydrated, but it must be spread very thinly on suitable nonstick sheets and dried until completely brittle.
Do I need to blanch pumpkin before dehydrating it?
Do I need to blanch pumpkin before dehydrating it?
This guide uses raw pumpkin slices. Blanching is an optional pretreatment that can help slow the enzyme activity responsible for changes in flavor, color, and texture during storage. If you blanch the pieces, drain and blot them thoroughly before arranging them on the dehydrator trays.
What’s the best pumpkin variety for dehydrating?
What’s the best pumpkin variety for dehydrating?
Small sugar pumpkins—also called pie pumpkins—are usually the best choice because their flesh tends to be sweeter, denser, and less stringy than that of large carving pumpkins.
Can I dehydrate canned pumpkin purée?
Can I dehydrate canned pumpkin purée?
Yes. Use plain pumpkin purée—not sweetened pumpkin pie filling—and spread it approximately 1/8 inch thick on fruit-leather or other dehydrator-safe nonstick sheets. Dry at 135°F until it is completely dry and brittle, with no sticky or flexible areas. Break it into pieces or grind it into powder after it has cooled.
Can I dehydrate pumpkin in the oven instead of a dehydrator?
Can I dehydrate pumpkin in the oven instead of a dehydrator?
Yes, provided your oven can maintain a sufficiently low temperature. Arrange uniformly thin pumpkin slices on oven-safe racks or lined baking sheets and use the oven’s lowest setting. Follow the manufacturer’s instructions regarding airflow and door position, begin checking the pieces regularly, and expect oven drying to take longer and use more energy than a dehydrator.
Why is my dehydrated pumpkin sticky?
Why is my dehydrated pumpkin sticky?
Sticky or flexible pumpkin probably contains too much moisture. Return it to the dehydrator and continue drying until a cooled piece is brittle. Cutting the pumpkin into uniformly thin slices and rotating trays when necessary will encourage more even drying.
How long does dehydrated pumpkin last?
How long does dehydrated pumpkin last?
For the best quality, use properly dried and stored pumpkin within approximately one year. Its actual storage life will depend on how thoroughly it was dried, the packaging, and exposure to heat, light, air, and moisture. Discard the pumpkin if you find mold, condensation, an unusual odor, or other signs of spoilage.
How do you dry pumpkin seeds?
How do you dry pumpkin seeds?
Wash the seeds thoroughly to remove the clinging pumpkin pulp. The National Center for Home Food Preservation recommends drying pumpkin seeds in a dehydrator at 115–120°F for 1–2 hours, stirring or rotating them as needed. Drying and roasting are separate processes; the seeds may be roasted after drying if you want a crisper, toasted result.
Can dogs eat dehydrated pumpkin?
Can dogs eat dehydrated pumpkin?
Most dogs can eat small amounts of plain dehydrated pumpkin. Do not add salt, sugar, pumpkin spice, or other seasonings, and make sure fresh water is available. Ask your veterinarian before introducing pumpkin if your dog has a medical condition or follows a restricted diet. Try my homemade Fresh Pumpkin Dog Treats.
Fresh pumpkin can become far more than pie filling. Dehydrate it as brittle slices, grind it into convenient powder, season part of the batch for fall snacks, or keep some plain for your dog.
Just remember to begin with fresh, sound pumpkin, cut the pieces uniformly, dry them until they are completely brittle, and condition them before long-term storage. Those few careful steps will help protect the quality of your finished pumpkin.
Before you go, download my free 5 Dried Food Recipes That Actually Taste Great PDF below—featuring carrot soup, minestrone, split pea soup, spicy beef jerky, and even banana cinnamon rolls.

5 Free Dried Food Recipes
That Actually Taste Great
Put your dried food to delicious use!
Five very different recipes.
Not one dull bite...
5 Free Dried Food Recipes
That Actually Taste Great
Put your dried food to delicious use!
Five very different recipes.
Not one dull bite...
More From Easy Food Dehydrating
How Many Vegetables Fill a Dehydrator: Tray Guide & Tips
Find out how many vegetables fill a dehydrator using Nesco tray estimates, with tips for slicing, spacing, and planning each batch.
How to Dehydrate Broccoli: Easy, Tasty, and Foolproof
Learn how to dehydrate broccoli—fresh or frozen—at 125–135°F. Easy steps, storage tips, and tasty ways to use it.
How to Dehydrate Peppers: Easy, Bold Flavor Storage
Step-by-step guide to dehydrate peppers for long-term storage, quick cooking, and homemade spice blends.
How to Dehydrate Peas: Fresh, Frozen & Canned
Learn how to dehydrate fresh, frozen, or canned peas with the right preparation, temperature, drying time, storage tips, and an easy glove trick!
How to Dehydrate Cabbage for Storage, Soups, and Creamy Slaw
How to dehydrate cabbage with temperature guide, storage tips, and a creamy coleslaw recipe using fresh or rehydrated cabbage.
Dehydrate Brussels Sprouts for Tasty Snacks & Storage
Learn how to dehydrate Brussels sprouts with simple steps, storage tips, and tasty ways to enjoy them year-round.


More From Easy Food Dehydrating
How Many Vegetables Fill a Dehydrator: Tray Guide & Tips
Find out how many vegetables fill a dehydrator using Nesco tray estimates, with tips for slicing, spacing, and planning each batch.
How to Dehydrate Broccoli: Easy, Tasty, and Foolproof
Learn how to dehydrate broccoli—fresh or frozen—at 125–135°F. Easy steps, storage tips, and tasty ways to use it.
How to Dehydrate Peppers: Easy, Bold Flavor Storage
Step-by-step guide to dehydrate peppers for long-term storage, quick cooking, and homemade spice blends.
How to Dehydrate Peas: Fresh, Frozen & Canned
Learn how to dehydrate fresh, frozen, or canned peas with the right preparation, temperature, drying time, storage tips, and an easy glove trick!
How to Dehydrate Cabbage for Storage, Soups, and Creamy Slaw
How to dehydrate cabbage with temperature guide, storage tips, and a creamy coleslaw recipe using fresh or rehydrated cabbage.
Dehydrate Brussels Sprouts for Tasty Snacks & Storage
Learn how to dehydrate Brussels sprouts with simple steps, storage tips, and tasty ways to enjoy them year-round.
Before You Go...
If you enjoyed this page, tap the ❤️ in the lower right-hand corner.
It saves this page to your Grow bookmarks so you can find it again later.
You’ll also see quick share buttons to copy the link, post to Facebook,
or save it straight to Pinterest.
What We Mean by “Dehydrate”
Here at Easy Food Dehydrating, “dehydrate” always means using an electric food dehydrator — the easy, reliable way to dry food at home.
What We Mean by “Dehydrate”
Here at Easy Food Dehydrating, “dehydrate” always means using an electric food dehydrator — the easy, reliable way to dry food at home.


📌 Pin It for Later

LATEST READS on EFD


-
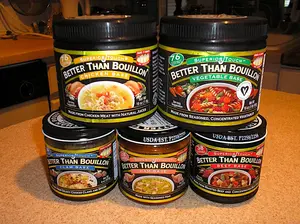
Better Than Bouillon: Uses, Storage & Cube Comparison
Sep 11, 26 10:46 AM
 Learn how to use Better Than Bouillon, how much makes one cup of broth, how it compares with cubes, and how to store opened jars safely.
 -
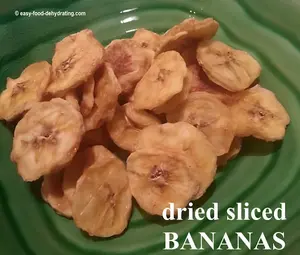
How to Dehydrate Bananas for Easy, Healthy Snacking
Sep 09, 26 02:32 PM
 Learn how to dehydrate bananas at 135°F, reduce browning, test for doneness, condition, and store them for delicious homemade snacks.
 -
How to Dehydrate Peas: Fresh, Frozen & Canned
Sep 09, 26 11:21 AM
 Learn how to dehydrate fresh, frozen, or canned peas with the right preparation, temperature, drying time, storage tips, and an easy glove trick!
Unlock the Secrets of Food Dehydrating... from Fruit 'n' Veg to Doggie Dinners!



AFFILIATE DISCLOSURE: I am an Affiliate for Amazon, and other sellers of quality merchandise. Should you purchase an item through their links, I may receive compensation. The price you pay does not increase. THANKS for your support! Read full disclosure here.
easy FOOD DEHYDRATING: Making food preservation simple since 2010. I show you how to keep your food pantry full, whatever the reason or season!

HOME ARTICLES CONTACT ADVERTISING DISCLOSURE DISCLAIMER FAQ PRIVACY SITEMAP TERMS TESTIMONIALS
ALL CONTENT COPYRIGHT © 2010-2025 • ALL RIGHTS RESERVED REGARDLESS OF LINKS OR ATTRIBUTIONS.
POWERED BY SBI! (SOLO BUILD IT!)
As an Amazon Associate, I earn from qualifying purchases.