What We Mean by “Dehydrate”
Here at Easy Food Dehydrating, “dehydrate” always means using an electric food dehydrator — the easy, reliable way to dry food at home.
- Home
- Dehydrating Vegetables: Step-by-Step Guides by Type
- How to Dehydrate Corn
How to Dehydrate Corn: Easy Steps
for Frozen, Fresh, or Canned

Dehydrating corn is one of the easiest ways to preserve this sweet, versatile veggie—whether you start with frozen, fresh, or even canned kernels. Once dried, corn keeps for months, saving freezer space while giving you a handy ingredient for soups, chowders, and even homemade cornmeal.
✅ Quick Answer: How do you dehydrate corn?
Spread frozen, fresh, or canned corn kernels on dehydrator trays in a single layer and dry at 125°F–135°F until brittle. Drying takes 6–15 hours depending on the type of corn. Rotate trays for even drying and store in airtight containers.
The best part? You don’t need fancy equipment or tons of time—just a dehydrator and a few simple steps. Let’s get you started so you can enjoy corn year-round.

Why Corn Is the Easiest Veggie to Dehydrate
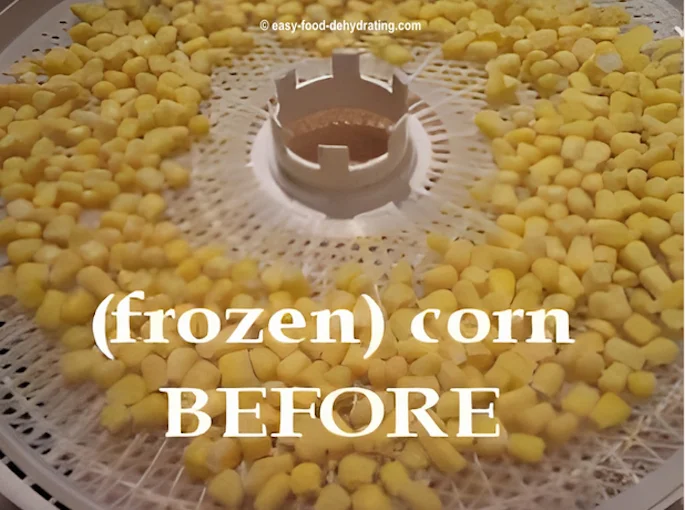
Frozen corn has got to be right up there with frozen peas for ease of dehydration! There's no excuse to not dehydrate these fantastic vegetables.
Corn Nutrition Benefits You Should Know
Frozen off-the-cob corn is a substantial source of these:
VITAMINS: Vitamin A, followed by Choline, Vitamin C, and Niacin. There are trace amounts of Vitamin E, Thiamine, Riboflavin, Pantothenic Acid, and Folate.
Frozen corn is a good source of:
MINERALS: Potassium, Phosphorus, and Magnesium, followed by Calcium, and Iron. There are trace amounts of Zinc Manganese, Copper, and Fluoride.
Frozen corn contains Omega-3 fatty acids and a high amount of Omega-6 fatty acids too!
Corn is rich in starch and dietary fiber—and the fiber is good news for a stubborn digestive system.
How to Dehydrate Corn the Easy Way
At Easy Food Dehydrating, we're all bout keeping things easy... so frozen corn wins hands down. For corn purists, read how to dehydrate fresh corn too! And then read on for how to dehydrate canned corn.
💡 Tip: Outside the U.S.? Most dehydrating temps here are listed in Fahrenheit - use our quick converter to see the Celsius equivalent for your machine.
Step-by-Step: Dehydrating Frozen Corn (Fast & Easy)
- Toss your frozen bag of corn kernels on the countertop a few times to loosen the kernels.
- Arrange the frozen corn on your food dehydrator trays, making sure there's some space for breathing room!
- Turn on your food dehydrator and set the temperature between 125°F and 135°F (or per your food dehydrator's instructions).
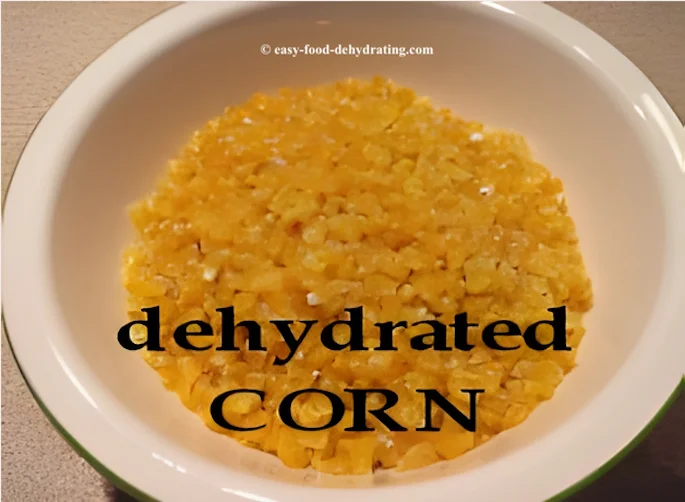
- Dehydrated corn will be brittle when fully dried.
- Drying time: between 6-12 hours.
- Please remember to rotate your trays for even drying.
Step-by-Step: Dehydrating Fresh Corn (Sweet & Flavorful)
For those of you with fresh corn, simply husk and wash them. Get a pan of water boiling and steam the ears for 4-5 minutes. Get them into cold water as soon as possible to stop the cooking process.
- Pull down/off the corn husks and cut off the end for a flat bottom. Cut the corn off the cob by standing the ear on the cut end, and slice downwards from the top to cut off the kernels. Make sure you get the whole kernel and not tons of stalk!
- Arrange the fresh corn kernels on your food dehydrator trays, making sure there's some space for breathing room!
- Turn on your food dehydrator and set the temperature between 125°F and 135°F (or per your food dehydrator's instructions).
- Fresh corn takes around 12-15 hours when fully dehydrated.
- It will be brittle and very hard.
Step-by-Step: Dehydrating Canned Corn (Pantry Shortcut)
- Drain your canned corn.
- Arrange the canned corn on your food dehydrator trays, making sure there's some space for breathing room!
- Turn on your food dehydrator and set the temperature
between 125°F and 135°F (or per your food dehydrator's instructions).
- Dehydrated canned corn will be brittle when fully dried.
- Drying time: between 6-12 hours.
- Please remember to rotate your trays for even drying.
Funny Story: How Squirrels Planted a Cornfield
I was chatting with a lovely neighborhood gardener the other day.
We were talking about squirrels and that reminded him of the day when he couldn't believe that one of my neighbors was actually growing corn in their tiny back garden.
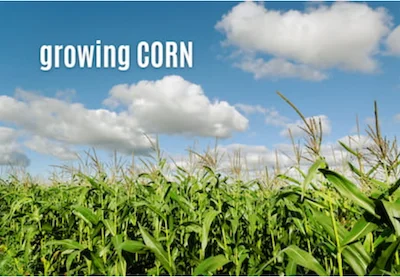
He asked them how their 'corn growing' was going and they were shocked to see actual stalks of corn! You see, they hadn't planted it.
And they hadn't even noticed it because they are 'snowbirds' and had just arrived back in town!
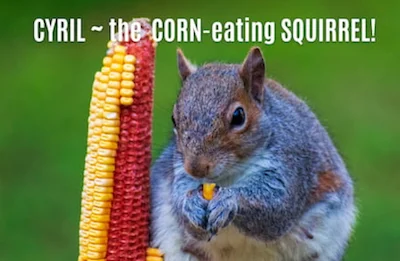
Apparently, before they left town, they had been feeding the squirrels out back with leftover corn cobs from dinner.
The squirrely squirrels took those cobs and buried them!
Hence the nice batch of corn ears shooting up a few months later!
FAQs: Everything You’ve Wanted to Know About Dehydrating Corn
Can you dry corn kernels at home?
Can you dry corn kernels at home?
Yes. Spread frozen, fresh, or canned corn kernels on dehydrator trays and dry at 125°F–135°F until brittle. This takes 6–15 hours depending on the type of corn.
Can you dehydrate corn for seed saving?
Can you dehydrate corn for seed saving?
Yes, but skip the dehydrator. Instead, let corn ears dry naturally on the stalk, then indoors for 2–4 weeks until kernels are rock-hard and below 12% moisture.
How do you dry corn husks for tamales?
How do you dry corn husks for tamales?
Clean husks, then dry them in a dehydrator at 95°F–115°F for 6–10 hours. Flip halfway through and store airtight until ready to use.
Can you dry corn for chickens?
Can you dry corn for chickens?
Yes! Either hang whole ears in mesh bags for 4+ weeks or dry kernels in a dehydrator. Store in cool, dry conditions, and grind before feeding for easier digestion.
If you want to learn much more about looking after chickens, you need to check out my friend Cath's blog: Raising Happy Chickens.
How long does dehydrated corn last?
How long does dehydrated corn last?
Stored in airtight containers in a cool, dark place, dehydrated corn lasts 1–2 years. For longer storage, vacuum seal with oxygen absorbers and desiccant packets.
Now that you know how to dehydrate corn the easy way, you’ve added another smart skill to your food-preserving toolkit. Whether you toss dried kernels into soups, whip up chowder, or even grind them for cornmeal, you’ll love having this pantry staple ready.
And before you go, be sure to grab your free 5 Dried Food Recipes You'll Actually Love PDF (below) — with favorites like carrot soup, minestrone, split pea soup, spicy beef jerky, and even banana cinnamon rolls. Enjoy!
Get 5 Dried Food Recipes You'll Actually Love
Here's where you can get your copy of our all new
5 Dried Food Recipes (That Actually Taste Great)
They're my all-time favorite easy dried food meals!
Get it here right now.
For Free!
Before You Go...
If you enjoyed this page, tap the ❤️ in the lower right-hand corner.
It saves this page to your Grow bookmarks so you can find it again later.
You’ll also see quick share buttons to copy the link, post to Facebook,
or save it straight to Pinterest.


